If you want to make your brand stand out, using a 3D embroidery machine is the most effective way to add professional depth to your custom apparel. Standard flat stitching is great for logos, but “puff” embroidery creates a raised, sculptural effect that customers associate with high-end retail brands. To achieve this, you need a machine with specific tension controls and high presser foot clearance that can handle thick foam layers without snapping needles or birdnesting thread.

This guide breaks down exactly how to choose the right hardware and configure your settings to get perfect results every time.
3D Embroidery Machine: Beginner Guide, Machine Settings & Tutorial
How 3D Puff Embroidery Works on Modern Machines?
The process of 3d puff embroidery machine work is a physical transformation of a flat design into a sculpture. Unlike standard flat stitching, where the thread sits flush against the garment, 3D embroidery uses an EVA foam insert. You place this foam on top of your fabric, and the machine stitches directly over it.
The sharp needle of a quality 3d embroidery machine designs setup essentially cuts the foam as it enters the fabric. The dense satin stitches then wrap around the foam, trapping it inside and creating a raised effect. Once the machine finishes, you simply pull away the excess foam from the edges of the design.
Essential Features of a High-Quality 3D Embroidery Machine
When searching for a 3d hat embroidery machine, not all equipment is created equal. You need a machine that can handle the extra physical height of the foam without snagging or breaking the thread.
High Presser Foot Clearance
The most important mechanical feature is how high the presser foot can travel. Since you are adding 2mm to 3mm of foam on top of already thick headwear, your 3d embroidery machine must have enough vertical “breathing room.”
If the clearance is too low, the foot will drag across the foam, causing shifts in the design or skipped stitches.
Consistent Tension Control
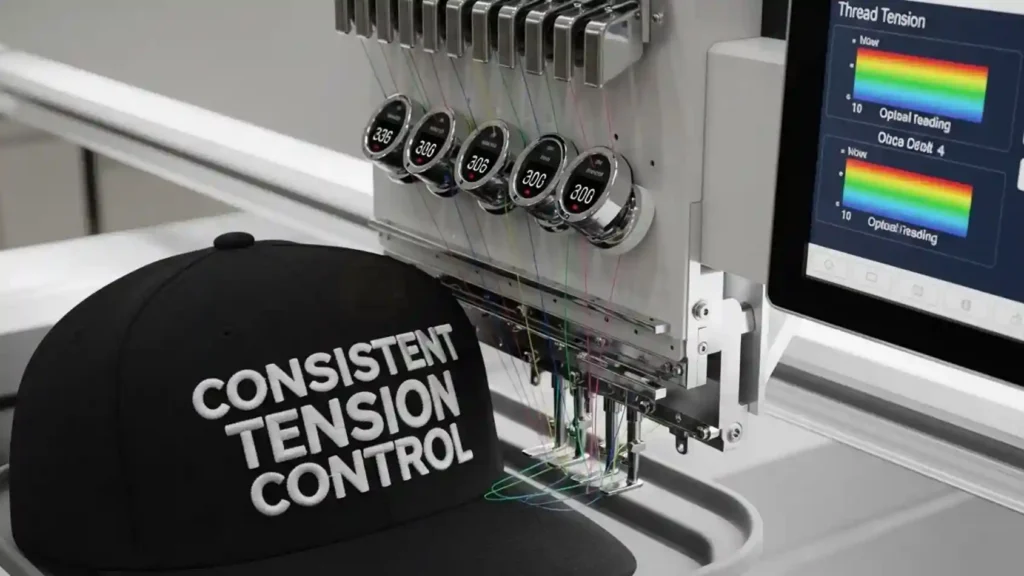
Tension is the “make or break” factor for 3D work. A professional 3d cap embroidery machine needs precise tension discs.
Because the thread has to travel further to go over the foam and back down, the tension must be loose enough to prevent thread breaks but tight enough to pull the foam edges inward for a clean finish.
Cap Driver Stability
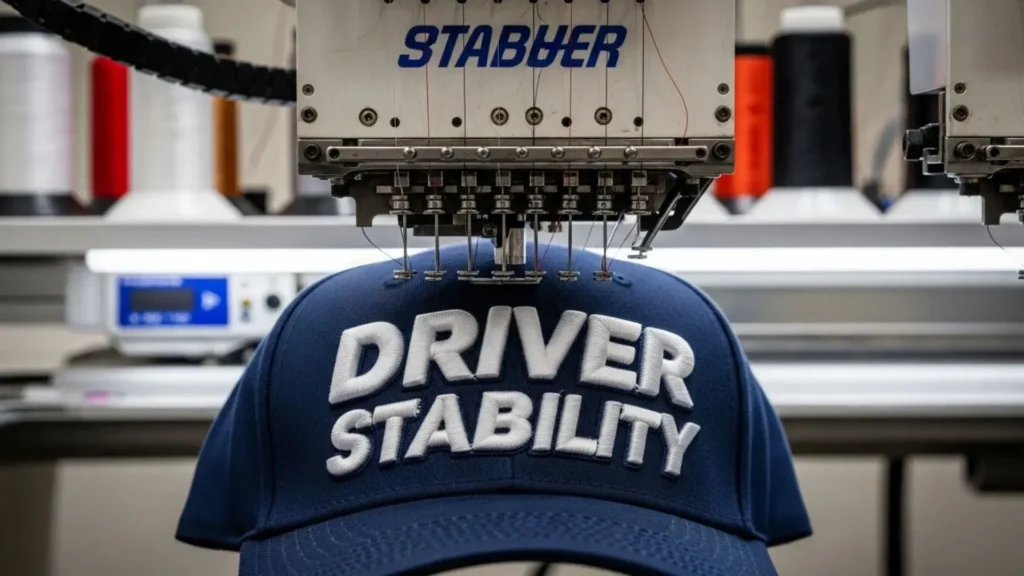
If you are specifically looking for a 3d puff embroidery machine, the stability of the cap driver is vital. 3D designs require a lot of “hits” or needle penetrations in a small area. A weak cap driver will vibrate, leading to blurry edges or foam “peeking” through the stitches.
Choosing the Right 3D Embroidery Machine
Pick a 3d puff embroidery machine with good tension control and hoop options for puff work. Home models like Brother PE800 handle single-needle puff well for beginners. Commercial ones like Ricoma EM-1010 offer multi-needle speed for batches.
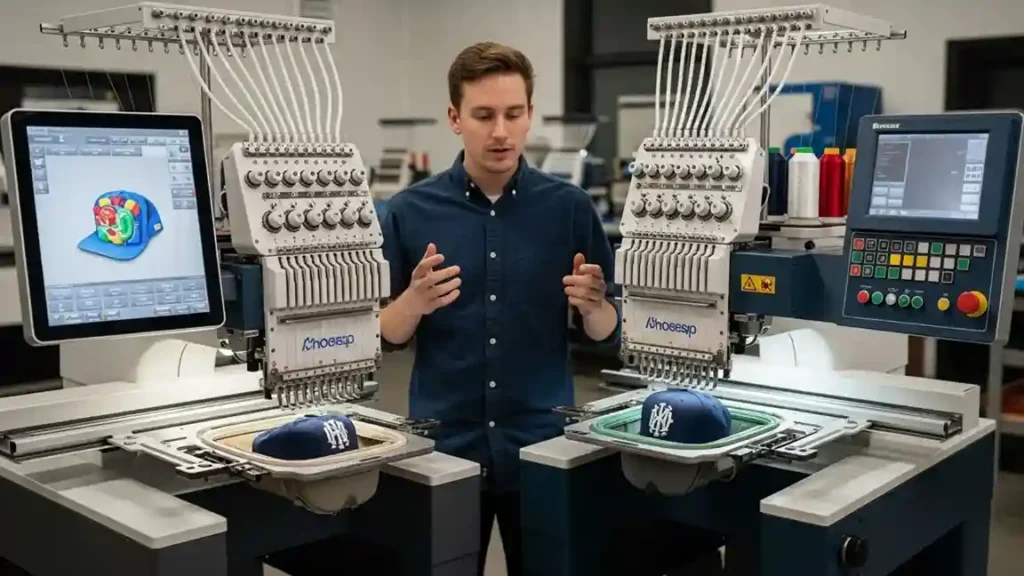
Key features include adjustable presser foot height, raise it 2-3mm to float over foam. Tension dials prevent crushing the puff, and USB ports load 3d puff machine embroidery designs fast. Multi-needle saves time on color changes.
Machine Type | Best For | Key Specs | Approx. 3d embroidery machine price |
Brother PE800 | Home beginners | Single needle, 5×7 hoop, tension adjust | $500-700 |
Ricoma EM-1010 | Small business | 10 needles, cap hoop, auto thread trim | $8,000-10,000 |
Janome MC 500E | Detailed designs | Large field, precise speed control | $1,200-1,500 |
For hats, get a 3d hat embroidery machine or 3d embroidery machine attachment. Avoid cheap models without foot adjustment, they smash foam. Test the best 3d puff embroidery machine reviews for reliability.
Technical Calibration: Perfect Machine Settings for 3D Foam Projects
Achieving a professional “pop” requires more than just a 3d embroidery machine; it requires precise calibration. If your settings are off, you will end up with flat designs or constant thread breaks. Use these industry-standard benchmarks to tune your equipment.
1. Optimal Stitch Density
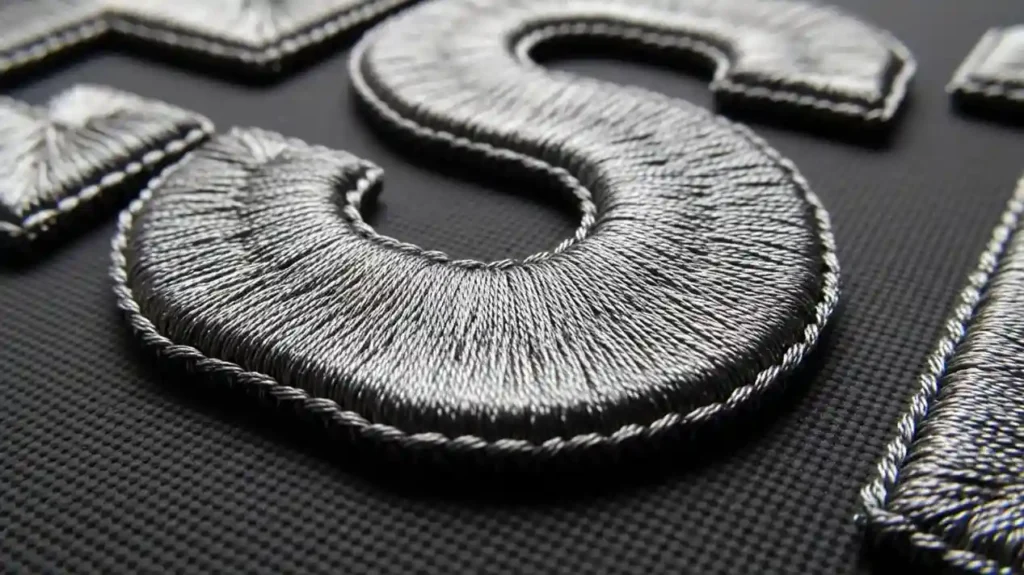
The goal is to cover the foam completely without “cutting” it like a cookie cutter before the design is finished.
- Foam Layer: Aim for 6-8 stitches per cm (or 0.16-0.22 mm spacing). This provides full coverage, so the foam color doesn’t peek through.
- Top Layer: Use a slightly tighter setting (0.16-0.18 mm) to compress the foam edges for a sharp, 3D look.
Pro Tip: If you are using a home 3d foam embroidery machine and the thread keeps snapping, loosen the spacing to 0.4-0.6 mm.
2. Speed (Stitches Per Minute)
High speed creates friction, and friction creates heat. Heat melts foam, which ruins the 3D effect.
- The Sweet Spot: Set your 3d embroidery machine to 500–700 SPM.
- The 25% Rule: A good rule of thumb is to reduce your normal flat embroidery speed by 25% to 40%.
- High-End Units: Industrial machines can sometimes handle 850 SPM, but only if your tension is perfectly balanced.
3. Foam Thickness Selection
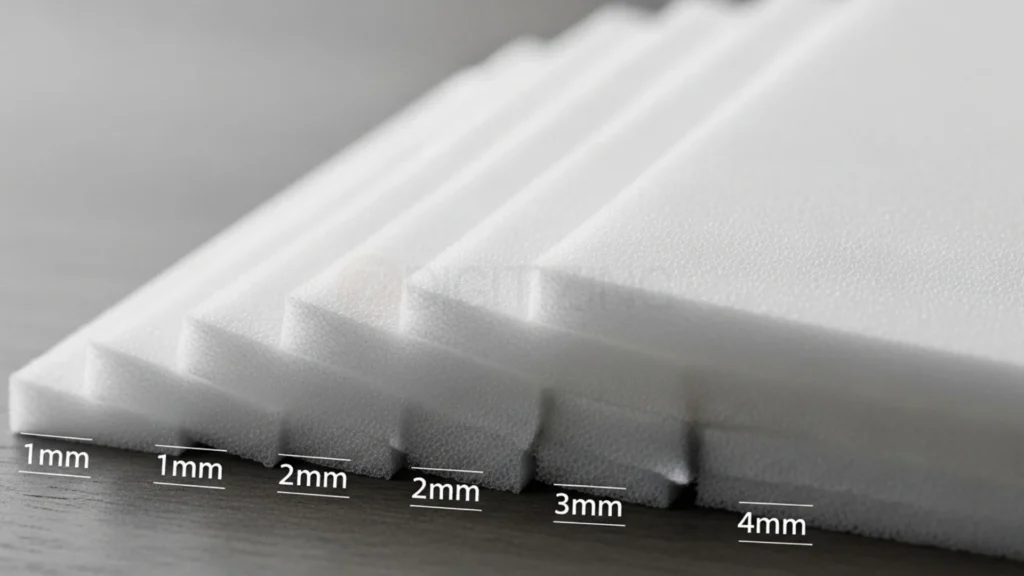
Matching your foam to your 3d embroidery machine designs is critical for a balanced finish.
- Standard (3mm): This is the ideal thickness for most hats and caps.
- Thin (1–2mm): Best for light fabrics like polos or hoodies where you want a subtle lift.
- Thick (4–5mm): Reserved for dramatic, heavy-duty “ultra-puff” on structured hats.
4. Tension and Thread Control
Standard tension settings of 3d embroidery machine will crush your foam, making it look flat and cheap.
- Upper Thread Tension: Loosen this slightly (reduce by 1–2 notches). You want the thread to “sit” on top of the foam, not bury itself inside.
- Bobbin Tension: Keep this at the standard setting. If you see “bird-nesting” (loops of thread underneath), re-thread your bobbin immediately.
5. Hardware: Hooping and Needles
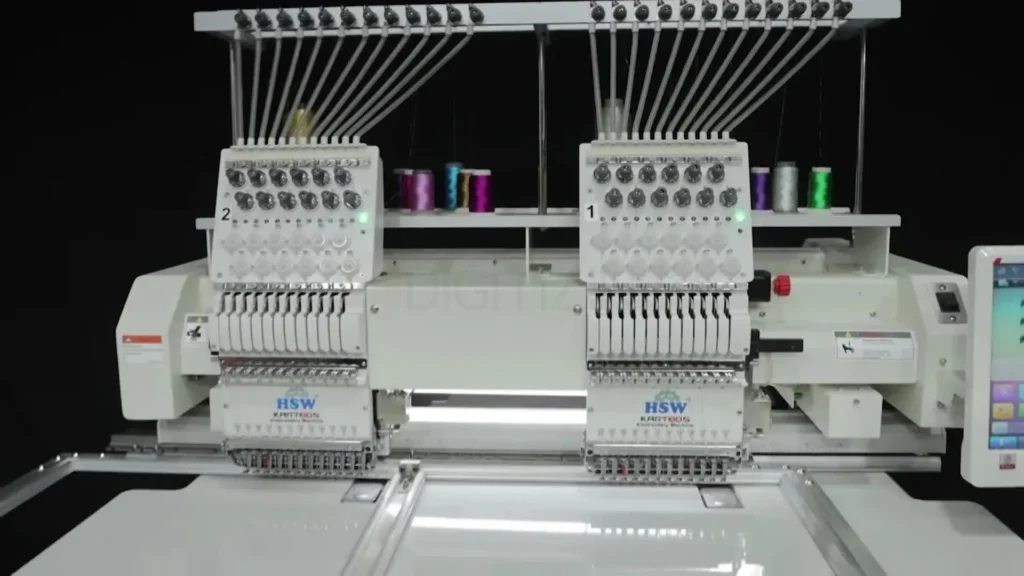
The physical setup of your 3d cap embroidery machine determines the stability of the stitch.
- Needle Size: Use a 90/14 sharp needle. The larger eye and sharper point help the thread travel through the foam without shredding.
- Hooping: Ensure the fabric is tight like a drum, but do not stretch it. For 3D hats, always use a dedicated cap hoop.
- Stabilizer: Use a firm, tear-away stabilizer underneath the garment to ensure the foam cuts cleanly during the final tear-away phase.
6. Software and Digitizing Tips
Your 3d machine embroidery success starts in the software (like Wilcom or InkStitch).
- The “Stop” Command: Always program a “Stop” or “Color Change” after your flat elements are done. This gives you time to lay down the foam safely.
- Capping Stitches: Ensure your columns have “caps” at the ends. Without them, the foam will poke out of the ends of your letters.
Expert Advice: No two machines are identical. Always run a 2-inch test square on scrap fabric using these settings before starting a customer’s hat. This ensures your 3D embroidery machine price investment yields high-quality results every time.
Essential Materials Needed for 3D Embroidery
You need a few key items to start 3D puff embroidery without hassle. Puff foam sheets come in 2mm or 3mm thick, thinner for small designs, thicker for big pops. Get white or colored foam to match your threads; cut it slightly larger than your design shape.
Threads should be 30-40 weight polyester for smooth coverage over foam. Stabilizers like tear-away or cut-away keep fabric flat; use medium weight for cotton. Backing fabric preps your hoop, and sharp scissors trim excess foam cleanly.
- Puff foam: 2mm for fine work, 3mm for bold raises (buy sheets from craft stores).
- Threads: Rayon or poly, neon colors shine best.
- Needles: 75/11 or 80/12 sharp for clean punctures.
- Stabilizers: One layer bottom, one top for stretch control.
Source affordable packs online or from embroidery suppliers. For bulk projects, stock up on multi-color foam to match client needs. Always test small scraps first to avoid waste.
Creating 3D Embroidery Designs: Digitizing Secret
Even the most expensive 3d embroidery machine designs will fail if the digitizing is poor. You cannot just “bold” a font and expect it to puff. The software instructions tell the machine how to trap the foam so it doesn’t leak out the sides.
Why Standard Designs Don’t Work for Puff?
Standard designs have a “flat” end to their satin stitches. In 3D work, those ends are open, meaning the foam will just stick out the top and bottom of the letter. You need “capping” or “bordering” stitches.
These are heavy hits at the start and end of a column that pinch the foam down to the fabric, sealing it inside the thread.
Adding “Capping” Stitches to Seal Foam Edges
When you are digitizing for a 3d embroidery machine, you must program the machine to lay down a “cut” stitch. This is a series of very close needle penetrations that act like a perforated line on a piece of paper.
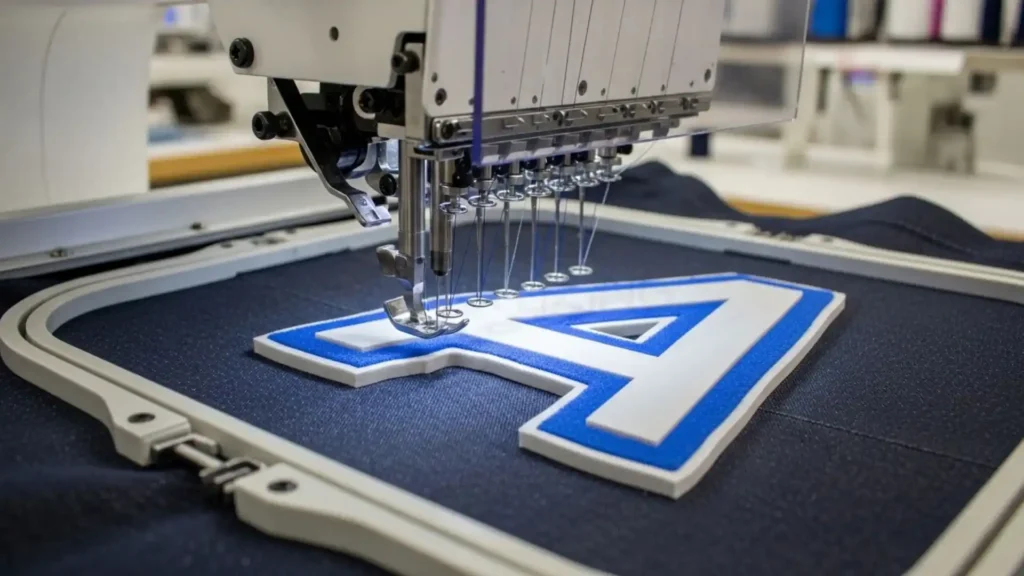
This makes it easy to tear away the excess foam once the machine is finished. Without these specific software commands, you will spend hours picking foam out with tweezers.
If you don’t want to deal with the complexity of digitizing yourself, it’s always better to work with professionals. ZDigitizing offers affordable embroidery digitizing services in Italy, Sweden, Germany, USA, UK, and Canada, ensuring clean and production-ready results. Our expert team is available 24/7 with fast turnaround, so you can focus on your business while we handle your designs.
Step-by-Step: How to Run a 3D Puff Design
Once your 3D embroidery machine is set up, follow these steps to execute a perfect puff design:
- Hooping and Prep: Hoop your garment as tightly as possible. If you are doing a hat, make sure the buckram is flat against the cap arm. Use a heavy-weight tear-away stabilizer for maximum support.
- “Flat” Base: Most 3D designs start with a few flat stitches to mark the placement. Your 3D embroidery machine will stitch a light outline so you know exactly where to place your foam.
- Placing the Foam: Lay a piece of embroidery foam over the placement lines. You can use a tiny bit of embroidery spray adhesive or masking tape to keep it from sliding. Ensure the foam is slightly larger than the design area.
- Laydown Stitch: The 3D machine will then perform “capping” or “laydown” stitches. These are heavy satin stitches that go over the foam. The needle will perforate the foam like a cookie cutter.
- Finishing Touch: Once the machine stops, carefully pull the excess foam away. If your density was correct, the foam should pop out easily, leaving a clean, raised 3D effect.
Using a high-quality 3d embroidery vs embroidery setup can make the “tear-away” stage much easier, especially when consistent tension is maintained throughout the design. Proper machine settings and digitizing also help ensure clean removal of excess foam without damaging the stitches or fabric.
Fixing Common 3D Embroidery Problems
Many beginners feel frustrated when their embroidery machine 3d projects don’t look like the ones in the store. Most of these issues are easy to fix with a few manual adjustments.
Why is My Foam Showing Through the Thread?
This is usually a density issue. You need to increase your stitch density by about 20% to 40% compared to a flat design. If the stitches are too far apart, the foam will peek through the gaps.
Why is the 3d Embroidery Machine Skipping Stitches?
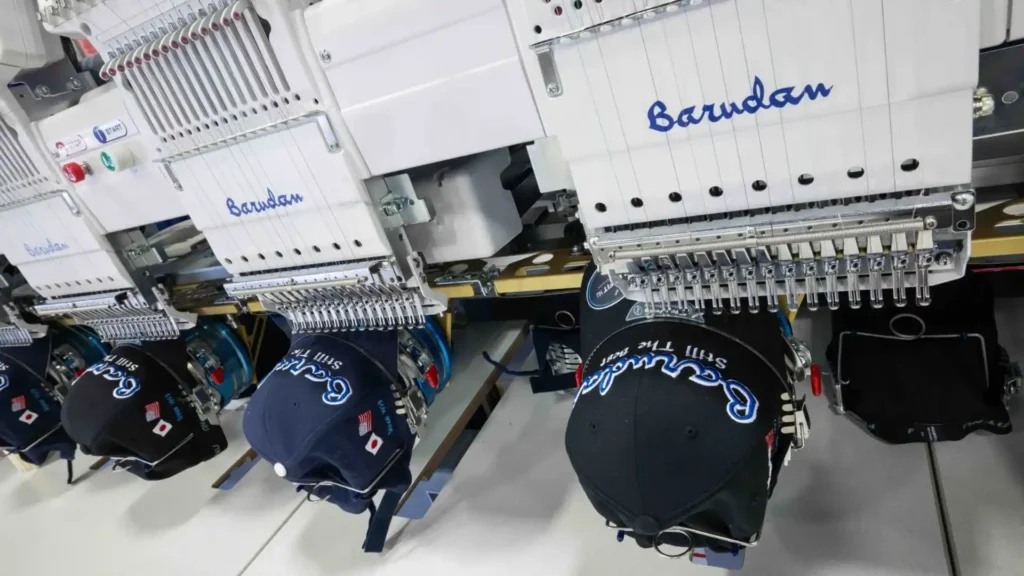
Thick foam can cause “flagging,” where the fabric bounces up and down with the needle. Ensure your hoop is as tight as a drum. If the fabric moves, the hook won’t catch the thread loop, causing a skip.
How to Clean a 3D Printed Embroidery Machine Component?
If you use 3D-printed custom hoops or parts, foam dust can settle into the ridges of the plastic. Use compressed air to blow out the bobbin case and the tracks of your 3d puff embroidery machine after every five items. Foam creates more debris than standard thread.

Final Words
To succeed with a 3d puff embroidery machine, you must balance the quality of your digitizing with the physical capabilities of your hardware. Remember that 3D puff is a “heavy-duty” task that requires sharp needles and looser top tension.
- Choose the right machine: Ensure it has the clearance for 3mm–6mm foam.
- Adjust your settings: Loosen tension and slow down the stitch speed.
- Finish like a pro: Use a heat gun to clean up the edges of your foam.
Whether you are starting a side hustle or expanding a factory, mastering the 3d embroidery machine will put you ahead of the competition.
If you’re ready to start, check out our latest reviews on the top industrial models or browse our collection of premium 3D foam sheets to get the best lift for your next project.
However, one of the most critical factors in successful 3D puff embroidery is digitizing. Even with the best machine, poor digitizing will lead to messy results, uneven stitches, and wasted production time. This is especially important for complex designs like caps and jacket back digitizing services, where precision, stitch flow, and proper underlay make a huge difference in the final result.
If you try to do it yourself without experience, it can take a lot of time and still not deliver professional results. That’s why working with a professional digitizing service is the smarter choice.
At ZDigitizing, our expert team is available 24/7 to handle your designs. We offer fast turnaround (4–12 hours), including urgent deliveries when needed. You’ll also get a free preview before payment, and we provide free minor revisions to ensure your design is perfect. Our quality is always guaranteed.
Ready to create clean, high-quality 3D puff embroidery without the hassle? Upload your design today at ZDigitizing and get 50% OFF on your first order.