How To Convert An Image To Embroidery File
In this Article, we will discuss about how to convert an image to embroidery file with easy steps. We will describe convert an image to embroidery file.
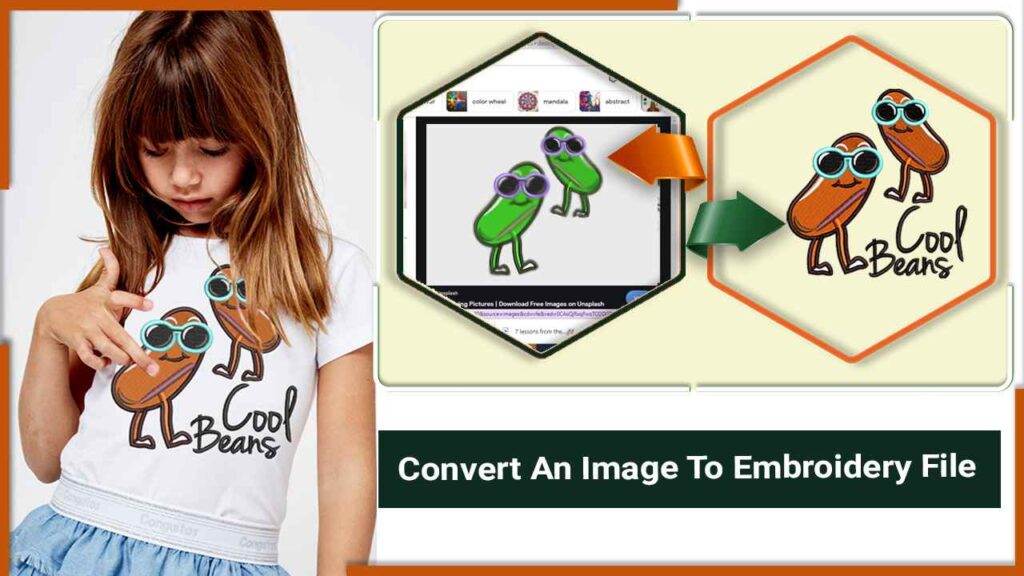
How To Convert An Image To Embroidery File
What Is A DST File?
A DST file is a format of embroidery machine which stores the embroidery commands of machine functions. All those commands are set of instructions which are used by embroidery machine.
The dst file can be generated by a embroidery digitizer.
The file originally launched by Tajima Company. But now a days it’s most commonly used embroidery format for all other machines.
Requirements:
- Embroidery software
- Little skill of computer operations
- Little effort of yourself
- Download artwork file
- Embroidery file converter
You can download some free/trial softwares from here:
Image File Manipulation For Embroidery Artwork
1. Place Artwork File Inside Program
First, you will have to insert the image file into the software. So, by doing this, you will be able to convert image to embroidery file free for other tasks.
- Go to the top menu bar and hover over your mouse on image and then select inset image file.
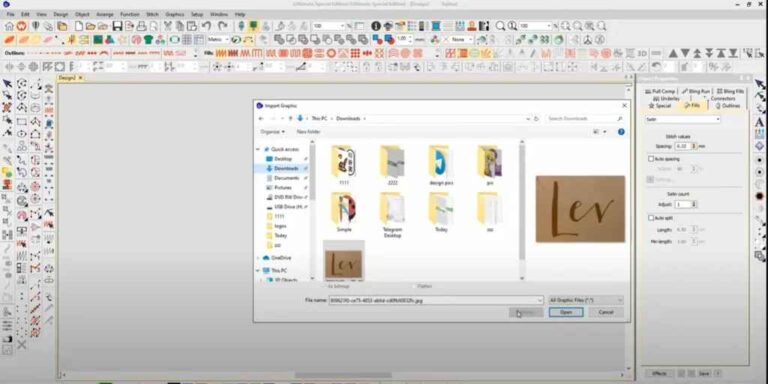
- Make sure you have selected all files options when you’re finding your file.
- Select the image file that you have downloaded in requirement section to start digitizing for embroidery work.
- I assume that you have successfully placed an image file like this.
This is the jpeg image file that we will convert into embroidery file. There is no restrictions, you can convert any image file into dst or any other machine embroidery format.
2. Crop The Image File Before Going Further
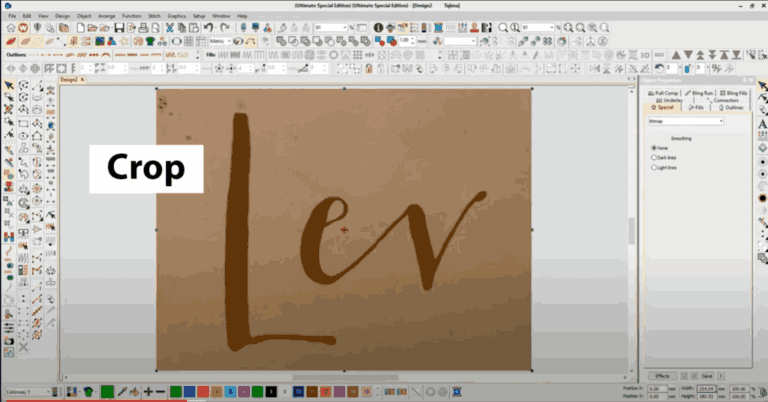
It’s better to set the desired size in the early of the working process instead of later on. So, first we will crop the picture before going ahead.
- Go to image section in the top menu bar, hover the mouse and select the crop bitmap with polygon tool.
Note: Make sure you have selected the file before doing this. Also you can use windows paint for this purpose because it’s not mandatory to do in this software only.
Select particular area of picture by making drawing with polygon tool
Note: left mouse click used for corner node and right mouse click used for round corner node. During the selection of image area you have to use both clicks for better selection. At the end when you have selected the area of picture then hit the enter key for cropping process. Photo automatically will be cropped.
- The file successfully has been cropped according to our selection
3.Set The Desired Size Of The Picture
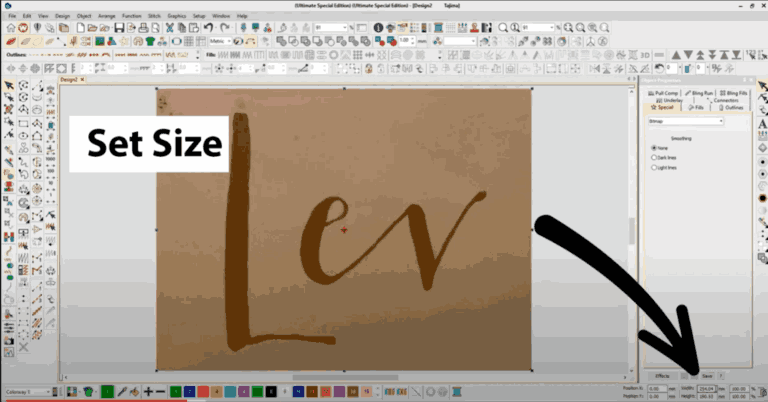
Now it’s time to set the size of the file. This would be the embroidery design size. Changing the file size in the early, isn’t meaning that we can’t change the size after the accomplishment of the work. Surely we can do but its good habit to do this in the beginning of the working process. So, let’s begin!
- Change metrics to us. By doing this you will be able to enter your design size into inches instead of mm.
- Unlock the lock icon if you want to change the file size separately in width and height. If not then leave it in locked status. Enter your size in height and width field. Remember it should be in inches instead of mm.
4. Lock The Picture Before Converting An Image To Embroidery Shape
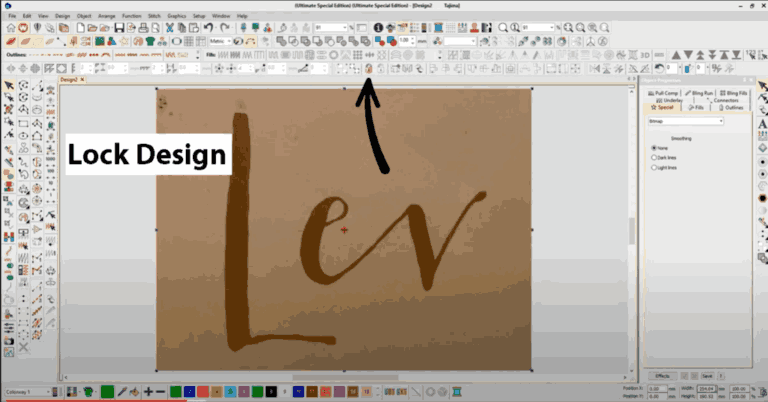
Why you need to lock the artwork? Because we don’t want to do anything else with this picture. So, it will be better to lock this. By locking the picture file you are making it secure from unexpected changes. After this you can work on jpeg file fearlessly because file is just locked and can’t be moved until unlocked.
- For lock status select the file and press “k”, photo will be locked
- For unlocking press the “shift+k”
Note: picture must be selected before doing this. Otherwise you will not be able to perform this task.
Additional Resources
These are the main factors which are used during the digitization. So, please read them carefully and remember for next workflow.
- Letter “m” used for object measurement
- Letter “z” used for zoom in
- Letter “shift+z” used for zoom out
- Maximum satin stitch length “12.1mm”
- Maximum fill/tatami stitch length “4mm”
- Maximum jump “7mm”
Start Logo Digitizing For Embroidery
1.Changing The Measurement Option
Again change the measurement option, by doing this, from us to metrics will gives you extra control on design size. Because “us” shows measurements in inches which may extra hard to measure the small objects.
2.Measure The Object In The Beginning
Before the starting of digitize embroidery work it’s compulsory to measure the object in the beginning of the working. By doing this you can check the size of the object and then analyze which stitch will be suitable for this object. As I mentioned above, different stitches also differ in stitch length. So, by pressing “m” key on keyboard you can measure the object. You just have to set the start point where you want to measure from and then scroll your mouse till the end point. By doing this a little popup will show you actual size of object, as you are seeing on the screen. This dimension indicates us that we can use satin stitch who supports this length.
3.First Of All Start Embroidery Digitization To Ring Object From The Picture
By default satin stitch is selected. So, no need to change it. Select the ring tool from the menu bar. As shown on picture. Remember! This bar will exist in left side of the screen.
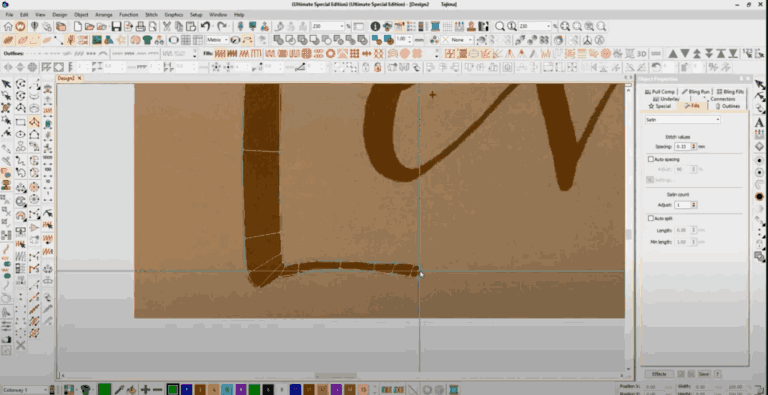
After the selection of tool you just need to hover the mouse over sequin or ring. Press and hold left mouse click at the center from sequin/ring and drag it to point of circumference. This will be draw height of circle circumference. Again you have to click on circumference point and this will draw circle width. At 3rd and 4th step you will draw inner circle height and width. Just drag your mouse at inner circle circumference point and then click, this will draw inner circle height. In last step do the same action as you have done in 2nd step for outer circle. Just by dragging your mouse over inner circle circumference point and this will draw width of inner circle. Pat yourself on your back because you have successfully drawn ring in embroidery shape.
4.Change The Colors Of The Embroidery Objects
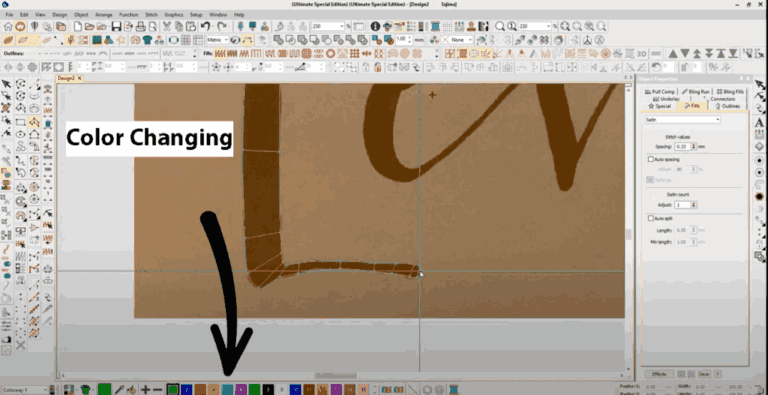
This is the color bar where you can choose specific colors. It will exist in the bottom of the design view screen.
- First you have to select the object where you want to apply the color.
- Then from the bottom of the color bar select your desired color.
- It will be applied automatically to that object.
You can do this process for a single object or for whole design at once. This cycle will be repeated as many times as you need to change the colors. So, you should be efficient in this process.
5.Be Familiarized With Copy And Pasting Function
Short keys
“Left mouse click” for object copying
“T” for design true view
“S” to hide the design stitches or go to wire framing view
If you want to hide or view stitches of design, so you can do by using above given short keys. We have completed one object and other ones are identical, so we will perform copy and pasting function. First of all select your object that you have accomplished recently. Press and hold mouse right click and drag the item on other substances which are similar to each other’s. But before dragging you should adjust the dragging item according to the picture. Do the same work for reaming picture items.
6.Our Second Target Is Thread Con
Select circle tool from the left side bar menu where you were selected the ring tool. By pressing and holding the mouse left click other tools will be displayed and then align your mouse curser at the thread con.
Your mouse cursor should be at the center point of the yellow colored thread con object. When you think I am at the right position then press the left mouse click and then drag it at the circle circumference.
By doing this a circle will be drawn and automatically will be converted into embroidery shape. But there is an issue, you may have noticed or not. The main thing is that size of the circle is bigger than our satin stitch length.
So, we can’t digitize it into satin stitch. If we want it would be clear and fine shape then we have to convert it into tatami or fill stitch. You can convert stitch type of any object just by selecting the desired object and apply the stitch type.
7.Repeat The Copy And Pasting Function
Whenever you see there are two or more identical objects in the picture. Then it would be much better to digitize only one object more efficiently instead one by one separately. So, in our picture thread con has two same objects. We have successfully convert an image to embroidery file free shape.. Now we need to copy and paste that object that we have converted in embroidery form. Procedure is same as we have done before. Right click on the completed part of the picture and press CTRL and then drag it to the identical part of picture.
8.Repeat The Color Change Step
The procedure of color change process also same as we have done already in previous step.
9.Making Sketch Of Thread Con
Pick up the right tool for the right object. For thread con we are going to use input “A” tool. This tool is located in left side bar tool panel. Just hover over your mouse and select the tool.
- After tool selection punch it according to your picture as we have done in previous chapter. The procedure is same as image cropping.
- When you have drawn your thread con then the next step will be color change. I am sure you know about how to change the color.
- Change the stitch type if your default stitch type is satin. Because due to object size we can’t apply satin stitch type. Therefore we have to change it to tatami stitch type. For this process select your object first and then apply fill stitch from top stitch bar menu.
- Your top and bottom of best thread con will be behind of recently digitized object. That’s not true form of the picture. For this just cut and paste your file objects which are behind the thread con. After completion of this step your picture should look like this.
10.Let’s Start Working On Pins
You know pins are in blue color and procedure will be same as we have applied on other objects. First we need punch needle shape in pins. For this we will use input a tool. The use of this tool you already know about this. So, next step will be to draw a circle same as thread con top and bottom shape.
Remember
- Draw only single pin perfectly and then apply copy and paste function as we have done before on other objects. Finally picture should look like this.
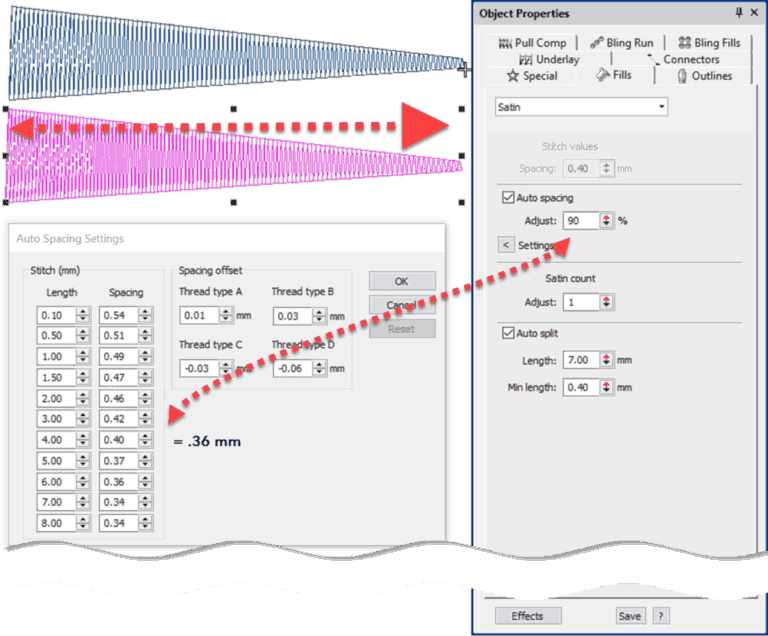
- The most important thing in this step is, when you have drawn top of the pin it will be split into 7mm length of satin stitch. We know size of the circle is bigger than 7mm. so, we have to make change in stitch length. Also we know that we can use 12.7mm satin stitch length. Just right click on the satin stitch icon and object property will be opened from right side. In the second option from object property, uncheck the auto split checkbox and the issue will be resolved.
11.Converting Needle Shape Into Machine Embroidery Form
Our second last item has been completed successfully. How I have done this? The process is so simple, use input a tool to draw needle line and finally draw a hole of needle. You may have noticed or not but the reality is that it’s not a hole it’s small white color object top on the needle line. You may ask me that why I have drawn this little shape top on the needle instead of making it as hole of the needle. The answer of this question is simple and state forward. When you think the upper shape is bigger enough then cut the shape from main object. Otherwise make little shape upper on the main object.
12.Finally Giving The Embroidery Shape To Simple Thread Lines On Picture Using Triple Run
Pick up the triple run tool right from the bottom of input a tool. Press left mouse click and hold it on for little while. After a moment other tools will be shown, select required tool from given option and start working on it.
The using method of this tool simple and straight forward. Simply begin from start point and act just like a drawing straight line with nodes. The most important points are, keep overlapping and draw bottom object first and upper later on. You may wondering how to pass thread from the needle hole but it’s so simple than your thinking. As I said earlier first thing first, draw bottom object first and upper later on. And then make connection between them. So, thread look like as he has passed through the needle hole. And lastly change the color as you have done on others objects. This whole process is also called converting jpeg to embroidery file or png to embroidery file A final look at our design will be as.
Applying Additional Settings For Final Work
For finalization we have to do some extra settings before sending project to machine. What do we have to do?
These are the additional setting that we are going to apply on our project. Such as: Florentine effect to thread con, stitch density, trims etc. let’s follow the steps
1.Appling Florentine Effect On Thread Con
You may ask what this is and why we need this effect. As simple we want to polish our project for final look. So, final look of our project should look like real picture. Therefore we need to apply these types of effects. After applying Florentine effect our thread con thread will be shaped as rounded thread at thread con. Select Florentine effect from stitch panel from the last. Highlighted is a Florentine tool.
Remember before selecting this tool an object should be selected. After applying this tool press H key to edit the effect and give direction to thread and should look like as rounded thread on con as I said earlier. When shape will be finalized by you, hit enter or press ESC to view the real shape of con thread.
Look at con thread and then you will be realized that stitches angles has been changed and in rounded shape.
Note: by moving curve from center or from left/right actually changes the stitches angles. You can give stitches direction whatever you like. It’s totally up to you but I prefer to give the natural look as things are in real form.
2.Adding Underlay To The Bottom Of The Objects
Remember underlay is used to prevent from fabric puckering. In actual form underlay is draw bottom of the design. This can be performed with only some stitches but in outline form. It covers whole layout of the design and design remains under the outline.
Types Of Underlay
- Zigzag
- Double zigzag
- Tatami
- Edge run
- Center run
Most Important Points
- If tatami stitch is used for any particular object then it is must that underlay will be used in tatami stitch. We cannot use zigzag or any other underlay bottom of the object which is covered by tatami stitch type.
- We cannot use underlay bottom of the very small objects or triple. Because there is no need to do this for little work.
- Mostly we use edge run underlay for every type of object.
- If edge run and isn’t possible then it’s better to use center run.
- For bigger types of objects we prefer to use double zigzag with edge run.
- If underlay is used as tatami then edge run is must.
Select the objects first where you want to apply the underlay. You can select multiple identical objects which are same in stitch type or in shape. It’s better to press t to go to in non-true view form. Where you can easily see the underlay. On the picture you can see where underlay is taking place. After selection go to object property option at right side of the working screen. Select first underlay as zigzag and second underlay as edge run. You can select settings such as spacing, length and margin according to your need. If you doesn’t need to change anything so don’t worry about changing. Because by default all settings are in correct form. When you settled your setting then apply them just by hitting enter key or pressing save button from the bottom of the property panel.
Note
Center run underlay will be used for needle and thread pins. And pins round area has been covered with our recently setting which we have applied. So, do not need to worry about pins round area.
Remember settings that I have applied are only valid for satin stitch type of objects. And settings for tatami stitch can’t be same as satin stitch.
Lastly thread con which is digitized with tatami stitch will be covered with tatami type underlay. So, select your complete thread con and then go to property option. In the property option you have to select first underlay as tatami stitch and second underlay as edge run. Also you have to make changes in edge run margin. Simply increase the edge run margin. So, edge doesn’t be out from design area. We are making changes because this object is bigger than others.
3.Travel The Design
May be its new thing for you or you have listened before it. The main purpose of this traveling function is to make the clear pattern for machine embroidery. So, machine will follow this clear pattern as smoothly as we have made it. If we don’t do this then there will be too much trims, jumps and an ugly machine pattern which is followed by embroidery machine. And this break the embroidery operations. Therefore it’s most important and finalization step to making machine embroidery designs smoother and clear.
Let’s know how we can apply it on our design. First of all hold and drag this menu bar from the left side of the screen. You can see this is a travel tools bar, so at the time of picking up make sure you are dragging the right tools bar.
Important Points:
- Left mouse click used for backward traveling and right mouse click is used for forward traveling.
- Always try to travel your design by functions. Because this option will save your embroidery time from redundant time consumption. Also as well as your machine embroidering time. But keep in mind that same colors of design should be digitize at once.
- Every time cut and paste the object where you want to start traveling from.

