If you don’t know about Embroidery Hoops then read our article Embroidery Hoops and Why They Matter. Melco embroidery machine gives you the most flexible and controlled embroidery work that prevents embroidery from distortion.
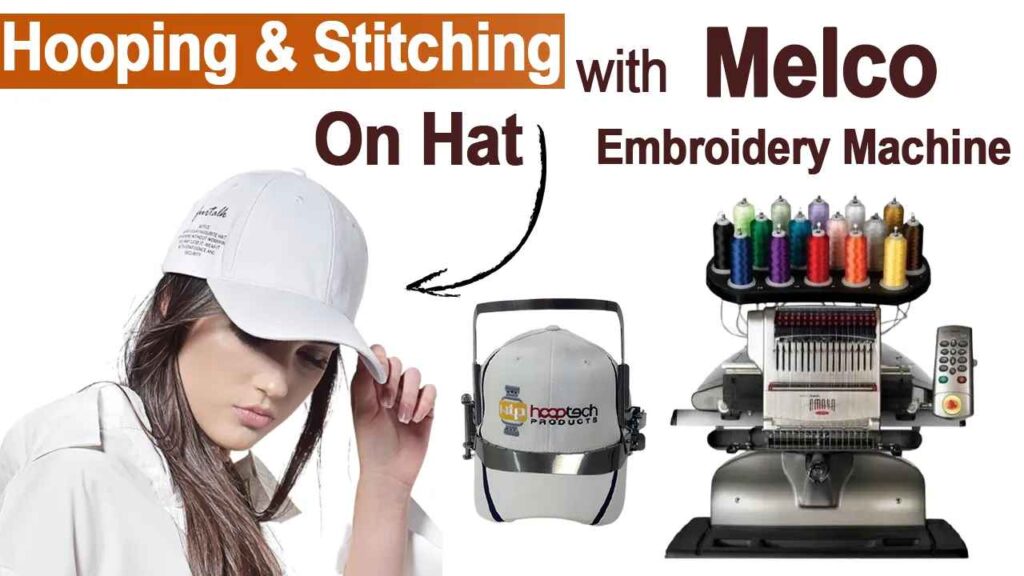
Hooping and Stitching on Hat With Melco Embroidery Machine
Introduction:
Althought Hooping And Stitching on Hat is bit technical but Melco Embroidery Machines simplify the process. Melco Embroidery machines are considered one of the best embroidery machines. These machines can do multiple tasks and give good quality embroidery without harming the material, and that’s why these are the world’s best and most significant marketplace for embroidery purposes.
Embroidery Digitizing
&
Vector Art Services
Are you looking for embroidery digitizing and vector art services at low cost with superfast turnaround, guaranteed quality and preview before pay? So, you are at right place. We can digitize and vectorize any type of artwork in your required file format.
Following Types of Hats You can Used
OPF Hats
Hooping and Stitching on Hat such as OPF hats are easy to embroider because they have backpacks with lamination, and as there’s no central point so you can place them on the gage and fix it.
Sports Cap
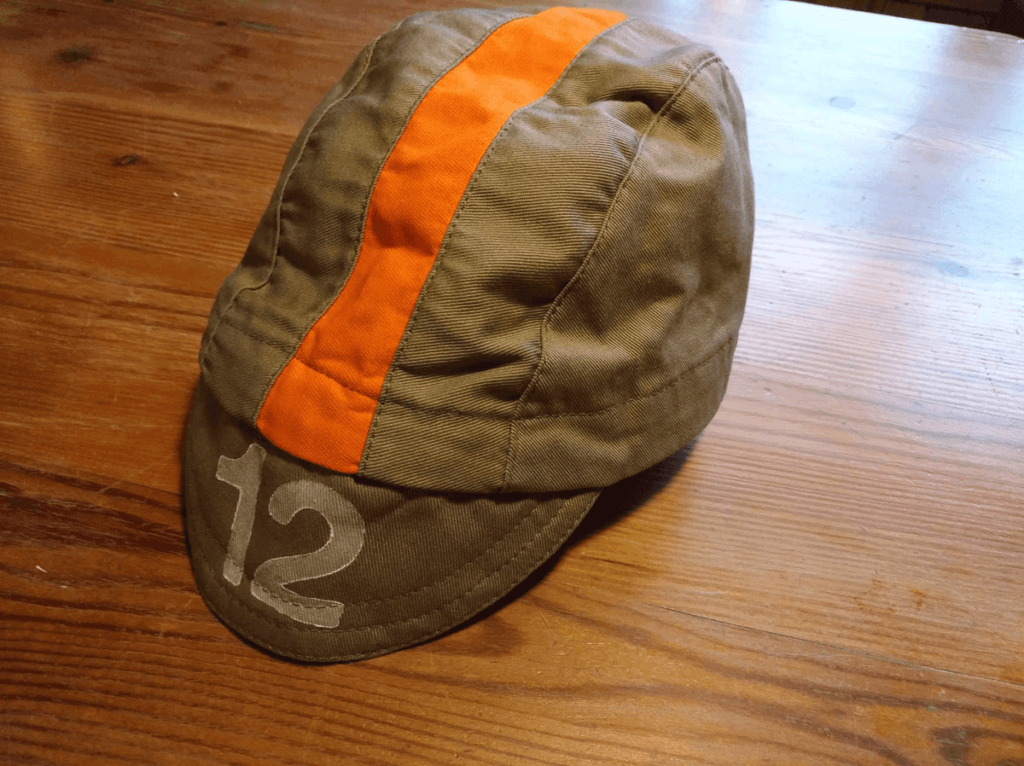
Sports Cap/Hat is another option if you are looking for Hooping and Stitching on Hat. Because these hats have a stream in the center at the front side in a downward direction. So it’s easy to lock the stream with a red line on the cap frame.

Varsity Hats
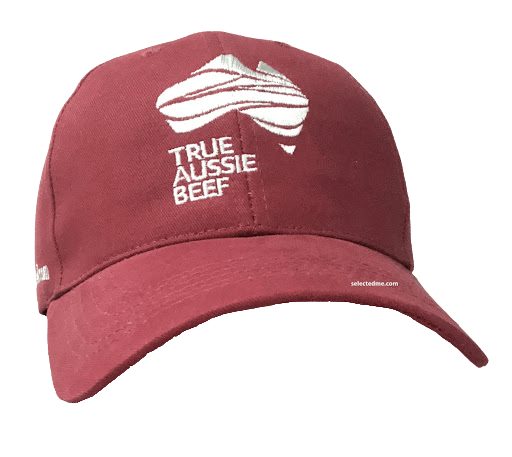
They don’t have any lamination backing on the front side. This is the reason these embroidery hats sometimes move a little bit. So for these hats, the backing size must be appropriately fitted to keep the cap in place.
Hooping and Stitching on Hat With Melco Embroidery Machine - 2 steps process
1. Hooping A Hat
- Before starting the hooping of a cap, first, you know the basis of embroidery hooping using a Melco hat hoop. The part where you hoop the hat is known as a gage, and a lever is placed on rotating the gage. To start the hooping process, remove the strap from the gauge.
- Take the backing and cut it in the size you need to hoop the cap. Now take a double-sided tape and cut it in finger length and stick it on the sides where you feel it will be needed. The double-sided tape will prevent the frame from moving from the gage, and it will be a secure way to put a cap frame on the gauge and make your embroidery work easy.
Tips: 4 Best Time Saving Tips for Cap Embroidery
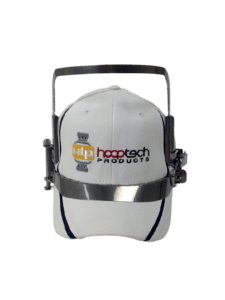
- Now select the cap frame concerning your requirement, put the cap frame on the gauge, and press/ slap it many times. Try to remove clips from the cap frame first. Now put the backing on the cap frame and place your cape on the gauge. Fix the cap on the gauge. Make sure the red line on the gauge will be in the center of the cap and close the cap frame’s strap tightly. If a strip of cap frame is lost, it will cause the cap to change its position slightly, and that will result in damage to the cap and embroidery. Now when the cap frame is being fixed in a cap. Remove the cap with the cap frame from the gauge.
- Now point changes here about the type of caps to the hoop, so we provide you a few caps and detail, which can cause problems while embroidering. So keep in mind the properties of caps and then hoop them.
2. Stitching on hat
Place the cap frame in the embroidery machine. Make sure that the frame is adjusted, such that the needles and grabber are on the left of the cap, and the working needle fits in the center of the part to be embroidered.
The Cap frame has three match points that will fit in the gauge tightly. Just put the frame on the Melco sewing machine’s embroidery gauge and clip the cap frame with the Melco embroidery machine’s gauge.
Now select the embroidery design from your computer and recenter it concerning your cap size. Must correct the size and placement of the embroidery badge on the computer and then embroider your cap.
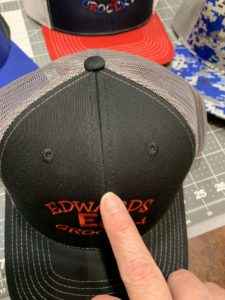
It would help if you keep in your mind the mainstream of your hat, and it’s easy to embroider the front side of the hat. The center front side will easily embroider the cap as it gets attached to the gauge easily. You will need the hoop tech back of the cap clamp for the back and side of the cap. This clamp will give you extra space for embroidering the back of the cap. Just lock it up with a lever on the Melco hoop and embroider the side and back of your cap with ease.
Conclusion:
In the end I would say Hooping and Stitching on Hat with Melco embroidery machine provides you with efficient and durable embroidery materials. Because of their easy handling, they are highly recommended all over the world. Hooping and embroidering/ digitizing become so easy by using Melco. Just some essential steps to follow, and boom! Your design is ready.

