Applique embroidery is a captivating technique that allows you to create stunning designs by layering fabric pieces onto a base fabric and securing them with intricate stitching.
This versatile and popular form of embroidery offers endless possibilities for adding texture, color, and dimension to your projects.
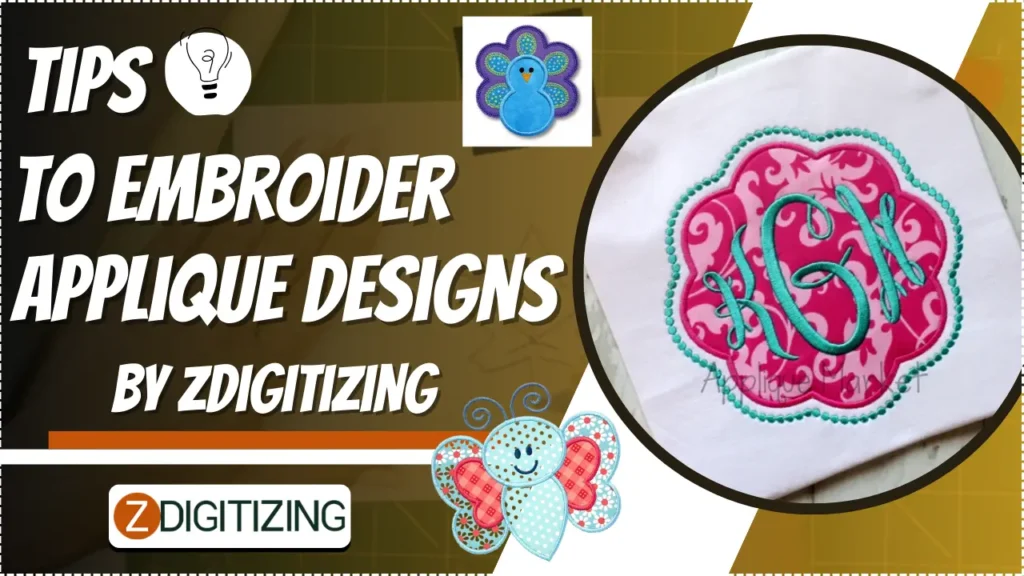
In this article, we will provide you with valuable tips for applique embroidery designs to help you achieve professional-looking results.
Tips To Embroider Applique Embroidery Designs By Zdigitizing
What is Applique Embroidery?
So, you’ve heard of embroidery, but have you heard of applique embroidery?
If not, let me introduce you to this fabulous technique. Applique embroidery is a method where fabric pieces are stitched onto a base fabric to create a design.
It’s like creating a patchwork masterpiece but with a needle and thread instead of a sewing machine. This technique allows you to add texture, depth, and pops of color to your embroidery designs.
Choosing the Right Fabric and Materials
First, embroidery machine applique tips are to select the right materials and fabrics for successful applique embroidery design so let’s have a look at the material you need for it:
Selecting Suitable Fabrics for Applique
When it comes to choosing fabrics for your applique embroidery, there are a few things to consider. Opt for lightweight fabrics like cotton or linen, as they’re easier to work with and don’t add unnecessary bulk to your design.
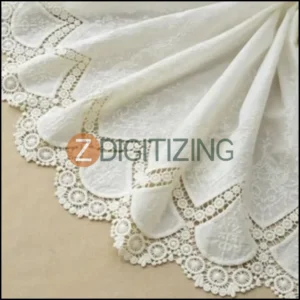
However, feel free to experiment with different textures and materials to achieve unique looks.
Gathering Necessary Materials and Tools
To get started with applique, you’ll need a few essential materials and tools. Make sure you have a good pair of fabric scissors to cut out your applique pieces precisely.
A washable fabric marker or chalk will come in handy for tracing your design onto the fabric. And of course, don’t forget to stock up on thread in various colors to match your fabric choices.
Preparing the Embroidery Machine for Applique
Once, you gather all the essential tools you need to prepare the machine for applique embroidery designs.
Cleaning and Maintaining the Embroidery Machine
Before diving into your applique tricks and tips, it’s crucial to ensure that your embroidery machine is clean and well-maintained.
Give it a good dusting and oil any moving parts as per the manufacturer’s instructions. This will help prevent any unnecessary glitches or thread snags during the stitching process.
Adjusting Tension and Settings for Applique
To achieve impeccable applique results, you need to make a few adjustments to your embroidery machine’s tension and settings. Consult your machine’s manual for specific instructions on adjusting the tension and stitch length for applique.
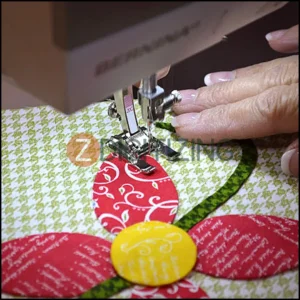
Remember, experimentation is key, so don’t be afraid to test different settings until you find the perfect combination for your desired outcome.
Creating and Preparing the Applique Design
Now your machine is set for embroidering, now create and prepare the applique embroidery design:
Selecting or Designing an Applique Pattern
Now comes the fun part – selecting or designing your applique pattern!
You can choose from pre-made designs or unleash your inner artist and create your own. Look for simple, bold shapes if you’re just starting, as they’re easier to cut and stitch.
And hey, if you make a mistake, just call it a “design element” and rock it with confidence!
Embroidery Digitizing
&
Vector Art Services
Are you looking for embroidery digitizing and vector art services at low cost with superfast turnaround, guaranteed quality and preview before pay? So, you are at right place. We can digitize and vectorize any type of artwork in your required file format.
Digitizing the Design for Machine Embroidery
Once you have your applique design, it’s time to digitize it for machine embroidery.
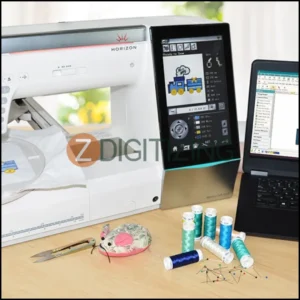
If you’re new to digitizing, don’t fret. You can take our help to transform your design into stitch instructions for your embroidery machine.
Hooping and Stabilizing the Fabric
When it comes to embroidering applique embroidery designs with your trusty embroidery machine, hooping and stabilizing the fabric is key to achieving professional-looking results.
Let’s dive into the important details of hoop size selection and using stabilizers for applique embroidery.
Selecting the Appropriate Hoop Size
Finding the right hoop size for your applique project is like finding the perfect pair of jeans that make your butt look fabulous – it’s essential!
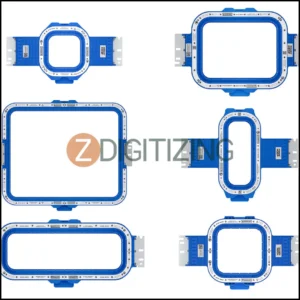
Too small of a hoop can squash your design, and too large can create loose fabric, resulting in a messy finish. So, take a moment to measure and choose a hoop that fits your design and fabric snugly.
Using Stabilizers for Applique Embroidery
Stabilizers are the unsung heroes of the embroidery world, providing support and structure to your applique designs.
They prevent fabric puckering, stretching, or misalignment during stitching, ensuring your creation looks straight out of a Pinterest board.
Applique Embroidery Designs Techniques and Tips
Now that your fabric is hooped and stabilized, it’s time to unleash your applique embroidery skills!
Here are some helpful applique tricks and tips to take your designs from ordinary to extraordinary.
Trimming and Positioning the Applique Fabric
Think of yourself as a master sculptor, carefully trimming and shaping your applique fabric to fit perfectly within your design’s boundaries.
Remember, precision is key here, so take your time and make sure the fabric is positioned accurately.
Stitching Sequence for Applique Embroidery Designs
Just like following a recipe, maintaining the correct stitching sequence is crucial in achieving flawless applique embroidery designs.
Start with the bottom layers, gradually building up to the top layers, and finish with any decorative elements. This ensures that each piece is secure and layers nicely.
Adding Decorative Elements and Details
Applique embroidery doesn’t have to be all about the main design. Don’t be afraid to get creative and add some extra flair.
Adding decorative elements, like small flowers, vines, or intricate borders, can take your applique embroidery from “Oh, that’s nice” to “holy stitching goodness!”
Finishing Touches and Post-Embroidery Care
Congratulations, you’ve completed your applique embroidery masterpiece! Now, it’s time to give it the finishing touches it deserves and ensure its longevity.
Removing Excess Stabilizer and Threads
Just like plucking your eyebrows or cleaning up after a wild party, removing excess stabilizer and threads is an essential final step.
Trimming away any visible stabilizer and snipping loose threads will leave your embroidery looking clean and polished.
Pressing and Storing the Finished Applique Embroidery
Give your applique embroidery the spa treatment it deserves by pressing it gently with a warm iron. This helps the fabric and stitches settle nicely, giving your piece a professional finish.
And when it’s time to store your creation, remember to keep it in a cool, dry place to prevent any unwanted wrinkles or damage.
Conclusion
After reading this, you’ll be an expert at using your embroidery machine to stitch applique embroidery designs.
Are you looking for amazing embroidery digitizing services? Look no further than ZDigitizing! We provide top-quality embroidery digitizing and vector art services that are perfect for all your embroidery and printing needs.
Guess what? We have a cool deal for you! You can get a whopping 50% off on your first order with us!
Just chat with us, and within 5 minutes, we’ll provide you with a free quote. We believe in keeping things simple and fast for you.
If you found this article helpful, why not share it with your friends?
Let everyone know about our incredible services and discounts. It’s a chance for everyone to experience top-notch digitizing services.
Thank you for reading!
Frequently Asked Questions:
Choose your design and fabrics. Trace the design onto fabric, then cut it out. Position the cutouts on the base fabric, pin or baste them in place. Sew the appliqué pieces to the base fabric using a stitch like blanket, satin, or straight stitch.
The easiest method is the raw-edge appliqué, where you simply place the cut fabric shapes on the base fabric and stitch close to the edges, leaving the edges raw.
Common methods include raw-edge, needle-turn, reverse, and machine appliqué, each differing in how the fabric edges are treated and sewn.
For a simple appliqué, choose a basic shape, like a heart or star. Cut the shape from the fabric, fuse it with adhesive to a base fabric, and then machine stitch around the edge.

