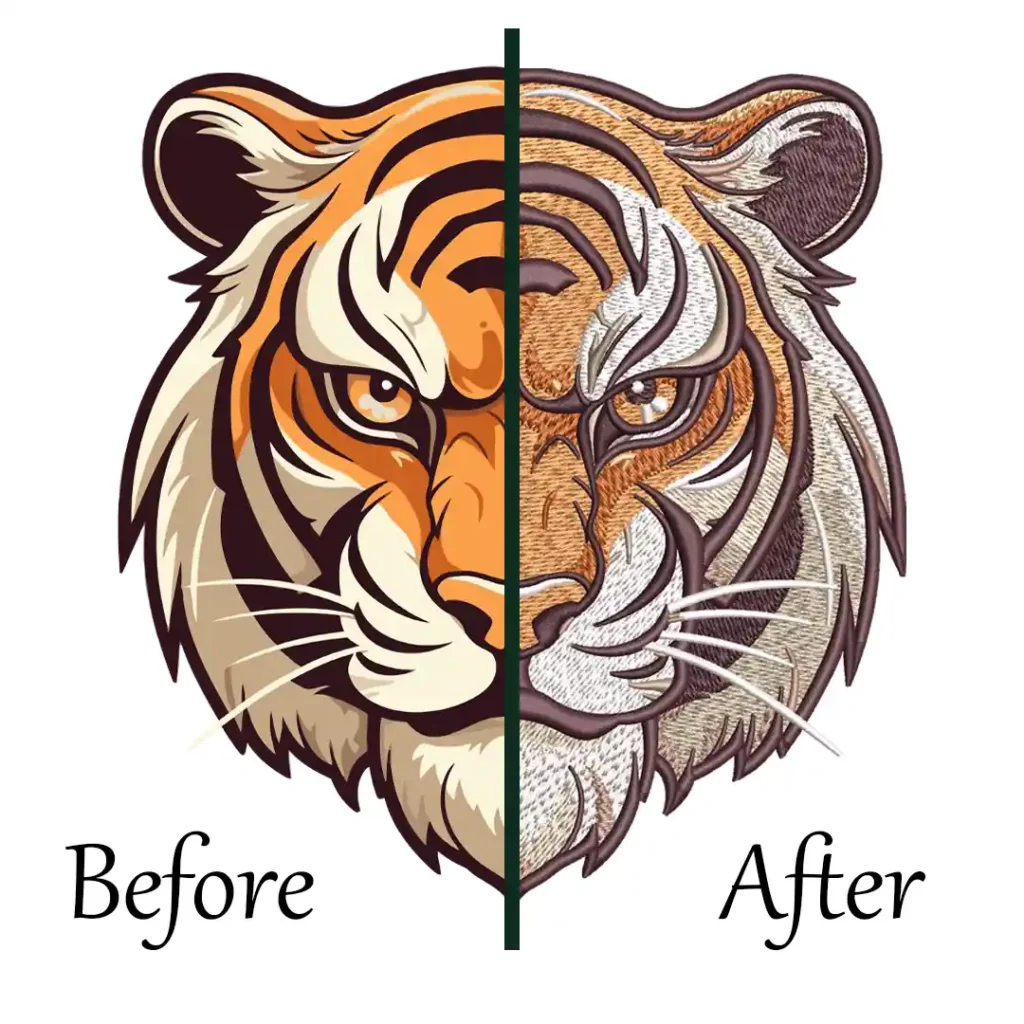
Embroidery digitizing is a fascinating process that combines creativity and technology to transform artwork into beautiful embroidered designs. Whether you are a hobbyist or a professional, understanding the basics of embroidery digitizing is essential to creating high-quality embroidery designs.
In this beginner’s guide, we will explore the fundamental concepts, techniques, and tools involved in embroidery digitizing. From the importance of digitizing software to preparing artwork, we will take you step-by-step through the digitizing process.

Additionally, we will address common issues and provide valuable tips and best practices to help you achieve stunning results in your embroidery projects.
So, let’s dive into the world of embroidery digitizing and unlock the potential to bring your designs to life with thread and fabric.
The Basics Of Embroidery Digitizing: A Beginner’s Guide
What is Embroidery Digitizing?
Embroidery digitizing is the process of converting artwork or designs into digital files that can be read by embroidery machines. This allows the machines to stitch out the design onto various fabrics with precision and accuracy.
Essentially, it’s like translating a picture or logo into a language that the machine understands.
Benefits of Embroidery Digitizing
Embroidery digitizing plays a crucial role in achieving high-quality and professional embroidery results.
The digitized file determines how the stitches will be placed, the density of the stitches, and the direction of the stitching. A well-digitized design ensures that the final embroidery looks clean, crisp, and exactly as intended.
Without proper digitizing, you might end up with distorted or messy embroidery, which is definitely not what you want!
So, understanding the basics of embroidery digitizing is essential for anyone who wants to create beautiful embroidered pieces.
Embroidery Digitizing Software
Embroidery digitizing software is a specialized tool used to convert artwork or images into a digital format that can be understood by embroidery machines.
Types of Embroidery Digitizing Software
There are various types of embroidery digitizing software available, ranging from basic to advanced. Some popular software options include Wilcom, Embird, and Tajima DG/ML. The choice of software depends on your needs, budget, and level of expertise.
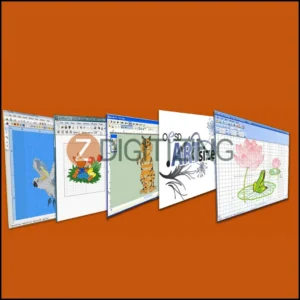
Beginners may find simpler software more user-friendly, while professionals might require advanced features for intricate designs.
Key Features and Functions of Digitizing Software
Embroidery digitizing software typically offers features like stitch editing, lettering, resizing, and color customization. These tools allow you to manipulate the design, add text, change thread colors, and make any necessary adjustments before sending it to the embroidery machine.
The software also provides options to select stitch types, stitch directions, and stitch density, enabling you to control the overall appearance of the design.
For understanding basics of embroidery digitizing these functions is crucial for achieving the desired outcome.
Tools and Techniques of Embroidery Digitizing
Digitizing tools and techniques encompass a range of methods and software features used in the process of converting images into embroidery patterns.
Essential Tools of Embroidery Digitizing
To get started with embroidery digitizing, you’ll need a few essential tools. These include a reliable computer, digitizing software, a graphics tablet (optional but helpful for precise design work), and a good quality embroidery machine.
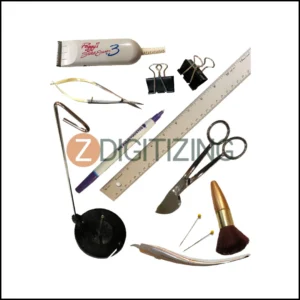
Additionally, having a comfortable workspace with proper lighting and organization will contribute to a smoother digitizing process.
Techniques for Accurate Digitizing
Accurate digitizing requires attention to detail and an understanding of the desired outcome. Start by analyzing the artwork or design you want to digitize and break it down into different elements.
Determine stitch types, stitch directions, and appropriate densities for each section. Take your time to ensure that the design translates well into stitches and that any text is legible.
Practice and experimentation will help you develop your skills and improve the accuracy of your digitizing.
Preparing Artwork for Digitizing
Preparing artwork for digitizing is a crucial step for learning basics of embroidery digitizing process, involving the refinement and adjustment of images to ensure they are suitable for conversion into stitch patterns.
Choosing Suitable Artwork for Digitizing
When selecting artwork for digitizing, it’s important to choose designs that are suited for embroidery. Designs with clear lines, distinct shapes, and limited color gradients tend to work best.
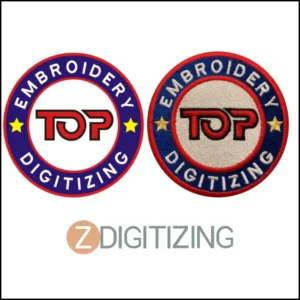
Avoid highly detailed or intricate designs, as they can be challenging to digitize accurately. Additionally, consider the size of the design and the intended placement on the fabric, as this can affect the level of detail that can be achieved.
File Formats and Artwork Conversion
To digitize artwork, it must be in a digital format that the embroidery software can read. Common file formats for embroidery digitizing include .dst, .emb, and .pes.
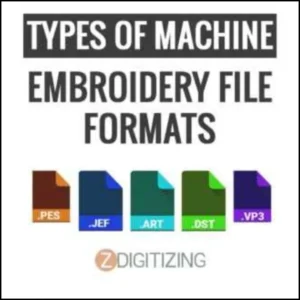
If your artwork is not already in a compatible format, you can convert it using image editing software or specialized file conversion tools.
It’s essential to maintain the quality and resolution of the artwork during the conversion process to ensure accurate digitizing.
Embroidery Digitizing Process Step-by-Step
Embroidery digitizing may seem intimidating at first, but fear not! We’re here to break down the process into simple steps that even beginners can follow.
So grab your favorite stitching project and let’s dive in!
Importing and Setting Up Artwork in Software
The first step in the digitizing process is to import your artwork into embroidery software. This software will be your trusty companion throughout the entire journey. Once you’ve imported the artwork, it’s time to set it up.
You’ll need to define the dimensions of your design, choose the appropriate stitch type, and set the level of detail you want in your embroidery. Think of it as giving your artwork a little makeover to make it embroidery-friendly.
Creating Stitches and Outlines
Now comes the fun part – creating stitches and outlines!
This is where your design starts to take shape. Think of stitches as the building blocks of your embroidery. You’ll need to define the paths and shapes that the stitches will follow.
Outlines, on the other hand, provide a clear boundary for your design. They help define the shape and ensure that your finished embroidery looks crisp and clean. It’s like giving your artwork a bold outline so it stands out.
Adding Colors, Patterns, and Textures
Embellishing your design with colors, patterns, and textures is like adding the final touches to a masterpiece. This step allows you to bring your embroidery to life and make it truly unique.
Choose colors that complement your design and experiment with different stitch patterns and textures. Don’t be afraid to get creative and let your personality shine through in every stitch. After all, embroidery is all about self-expression!
Testing and Refining Digitized Designs
Once you’ve digitized your design, it’s time to put it to the test. Testing may not sound glamorous, but it’s an essential part of the process.
Trust us, it will save you from potential stitching disasters down the line!
Importance of Testing Embroidery Designs
Testing your digitized design allows you to identify any issues before you start stitching on your precious fabric.
It helps you catch errors, ensure proper alignment, and make any necessary adjustments. Think of it as a dress rehearsal for your embroidery masterpiece.
Making Adjustments and Refinements
If you encounter any issues during testing (and chances are, you will), don’t panic! It’s all part of the learning process. Take note of the areas that need improvement and go back to your software to make the necessary adjustments.
Refining your digitized design may involve tweaking stitch lengths, altering densities, or adjusting the placement of elements. Remember, practice makes perfect, and you’ll get better with each refinement.
Success in Embroidery Digitizing Tips and Best Practices
Congratulations, you’re now well on your way to becoming a digitizing pro!
Before we complete, here are some final tips and best practices to ensure your embroidery digitizing journey is a success.
Designing for Different Fabric Types
Different fabrics require different approaches. Learn how to adapt your digitizing technique to various fabric types, ensuring optimal results every time.
Maintaining Consistency and Quality
Consistency is key when it comes to embroidery digitizing. Discover how to keep your designs consistent and maintain high-quality standards throughout your projects.
Remember, embroidery digitizing is an art form, and like any art, it takes practice, patience, and a little bit of humor. So go forth, embrace your creativity, and stitch away!
Conclusion
In conclusion, basics of embroidery digitizing opens up a world of possibilities for creating intricate and unique embroidery designs.
By understanding the tools, software, and techniques involved, you can digitize your artwork with precision and bring it to life through thread and fabric.
While the process may seem daunting at first, with practice and patience, you can master the art of embroidery digitizing. Remember to test and refine your designs, troubleshoot any issues that arise, and follow best practices for consistent and high-quality results.
So, embrace the art of embroidery digitizing, unleash your creativity, and enjoy the journey of transforming your designs into stunning embroidered works of art.
ZDigitizing: Ultimate Destination for Premium Embroidery Digitizing Services
Need awesome embroidery digitizing services?
ZDigitizing is here for you! We offer top-notch embroidery digitizing and vector art services that fit both your embroidery and printing needs.
And here’s a cool deal – we’re giving you 50% off your first order!
Getting started is super easy. Just chat with us and we’ll give you a free quote in just 5 minutes. We like to keep things simple and fast for you.
Found this article helpful?
Share it with friends and spread the word about our incredible services and discounts. It’s a chance for everyone to experience top-notch digitizing services.
Thanks for reading, and we can’t wait to help you with your embroidery projects!
Frequently Asked Questions:
The easiest digitizing software for embroidery often includes user-friendly interfaces and intuitive tools, ideal for beginners. Brother PE-Design Lite and Embrilliance Essentials are commonly recommended for their simplicity and ease of use, offering basic features that help new users navigate the complexities of embroidery digitizing.
The purpose of digitizing embroidery designs is to convert artwork or images into a format that embroidery machines can read and execute. This process involves translating the design into stitches, and determining the stitch type, direction, and sequence, thereby enabling the machine to accurately recreate the design on fabric.
Embroidery digitizing is typically saved in specific file formats that are compatible with embroidery machines. Common formats include PES for Brother machines, DST for Tajima machines, and EXP for Melco machines. These formats dictate how the design is stitched, including the color, sequencing, and type of stitches used.
The method of embroidery digitizing involves several steps: first, selecting and preparing the artwork, then using digitizing software to plot stitch types, directions, and sequences. The digitizer must consider fabric type, thread colors, and the intended use of the design, ensuring the digitized pattern will stitch out effectively and look appealing on the chosen material.

