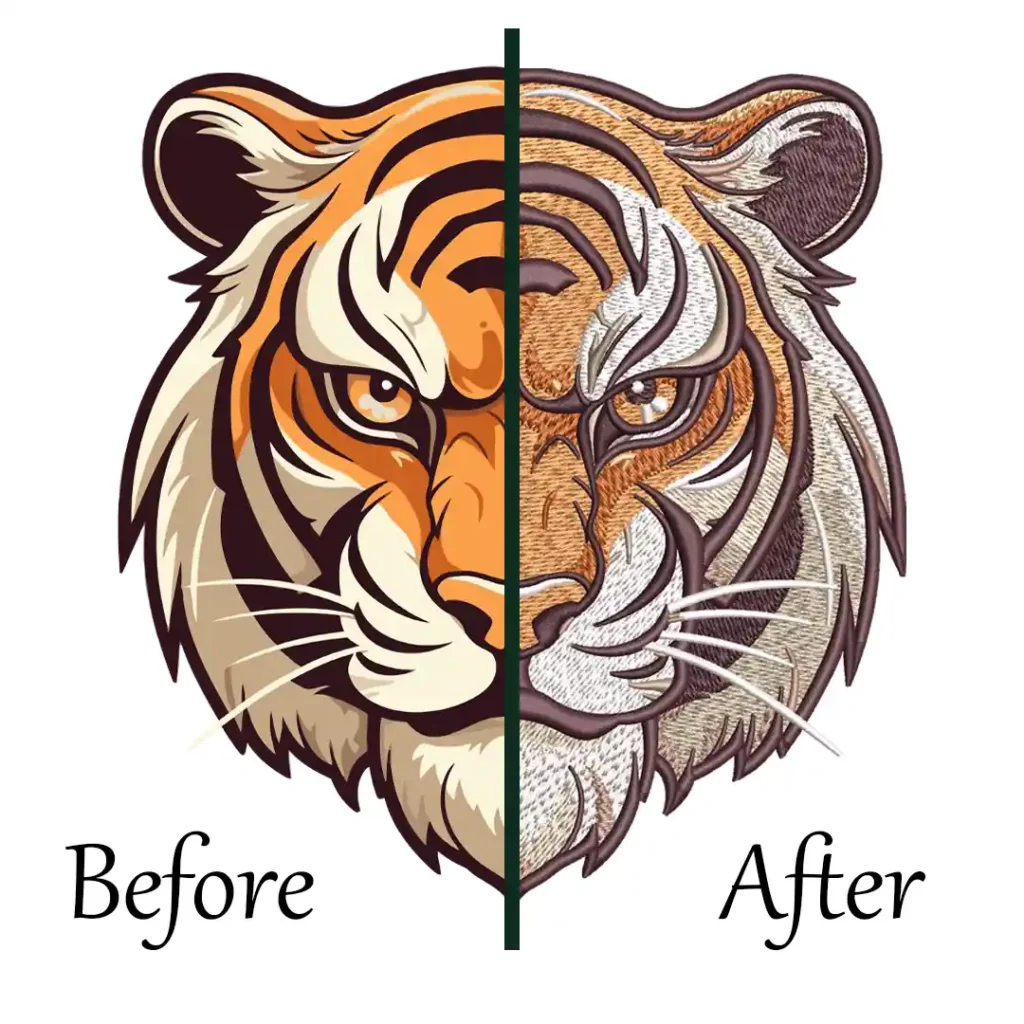
In this extensive guide, we will delve into each Digitizing Issues in detail and provide comprehensive troubleshooting steps to overcome them effectively. Let’s embark on a journey to enhance your embroidery digitization skills and ensure exceptional design outcomes.
Embroidery Digitizing
&
Vector Art Services
Are you looking for embroidery digitizing and vector art services at low cost with superfast turnaround, guaranteed quality and preview before pay? So, you are at right place. We can digitize and vectorize any type of artwork in your required file format.
Troubleshooting Common Digitizing Issues
Troubleshooting Digitizing Issues:
Embroidery digitizing is a captivating art form that converts intricate Digitizing embroidery designs into beautiful stitched creations. However, even the most skilled digitizers encounter challenges during the digitizing process. To achieve flawless embroidery results, it is essential to understand and address common digitizing issues.
Uneven Stitch Density:
Embroidery digitizing is a captivating art form that converts intricate Digitizing embroidery designs into beautiful stitched creations. However, even the most skilled digitizers encounter challenges during the digitizing process. To achieve flawless embroidery results, it is essential to understand and address common digitizing issues.
Inaccurate Colors:
Color accuracy is crucial to ensuring the visual appeal of the embroidery design. If the colors in your Digitizing software do not match the intended shades, verify the thread color codes used in your digitizing software. Cross-reference these codes with your thread supplier’s color palette to ensure accuracy. Additionally, utilize color matching tools provided by your software to precisely match the desired shades.
Loss of Image Quality:
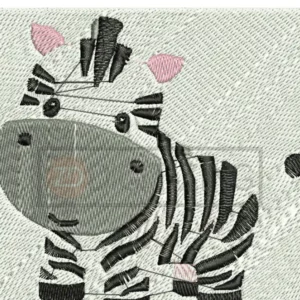
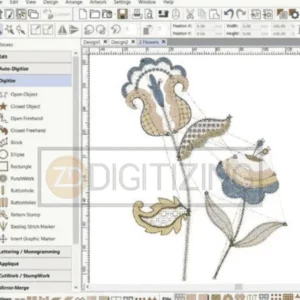
Loss of image quality during embroidery digitization can lead to blurred or distorted digitizing embroidery designs. To preserve image integrity, begin with high-resolution artwork as the foundation. When converting the design into stitches, ensure you optimize the stitch settings appropriately. Avoid excessive resizing, as it can cause pixelation and loss of detail. If you need to resize the design significantly, start with a vector-based design to maintain clarity.
Jagged or Distorted Lines:
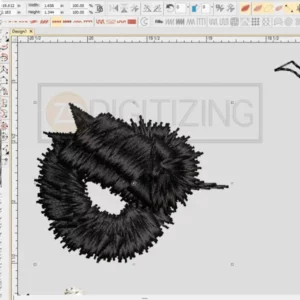
Jagged or distorted lines can be a result of improper stitch angles or inadequate underlay. To rectify this issue, pay close attention to the stitch direction, ensuring that they follow the natural flow of the design. Adjust the stitch angles where necessary, especially when dealing with curves or intricate elements. Proper underlay is crucial to provide stability and a smoother finish to the design, preventing jagged edges.
Inconsistent Thread Tension:
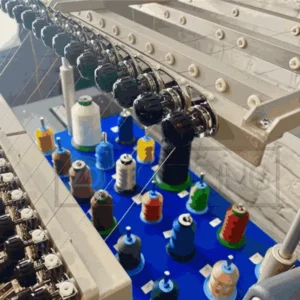
Inconsistent thread tension can lead to irregular stitches, thread breaks, and uneven designs. Regularly maintain your embroidery machine by cleaning and lubricating it to ensure smooth operation. Check the tension settings before beginning a new project and make adjustments as needed. Use high-quality threads suitable for your machine to achieve consistent results.
Misalignment:
Misalignment occurs when combining different design elements, such as merging text with images or aligning multiple components. To avoid misalignment, use registration marks and align points as reference guides during the digitizing process. Ensure that all design elements are precisely positioned before proceeding with the final stitch-out.
Thread Breaks:

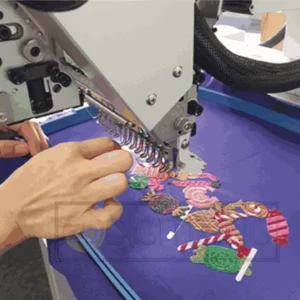
Thread breaks can disrupt the embroidery process and cause design inaccuracies. To prevent frequent thread breaks, inspect the thread quality and discard any damaged or old threads. Check the bobbin and upper thread tensions to ensure they are properly adjusted. Additionally, make sure the embroidery machine is well-maintained to avoid mechanical issues that may lead to thread breaks.
Puckering or Bulging:
Puckering or bulging occurs when the fabric is not adequately stabilized during embroidery. To prevent these digitizing issues, choose the appropriate stabilizer based on the fabric type and design complexity. Use a quality backing or topping, depending on the fabric’s texture and weight, to maintain design integrity and prevent fabric distortion.

Small Lettering Challenges:
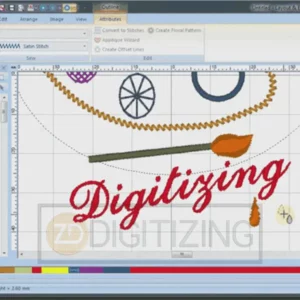
Embroidering small letters requires meticulous attention to detail and proper stitch settings. Opt for fonts specifically designed for small lettering, as they are optimized to achieve crisp and legible results at reduced sizes. Adjust the stitch density and underlay for small lettering to ensure the stitches hold together well without excessive thread build-up.
Fabric Compatibility:
Selecting the right fabric is crucial to ensure the success of your embroidery project. Different fabrics require varied stitch densities, underlay techniques, and stabilizers. Conduct tests run on a similar fabric before starting the final project to determine the appropriate settings and achieve optimal results.

Stitch Distortion:
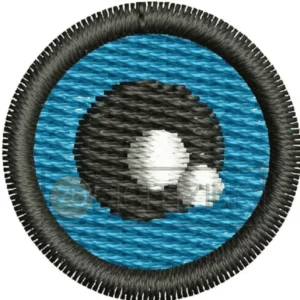
Stitch distortion can occur when digitizing intricate designs or when working with stretchy fabrics. To address this issue, consider reducing the stitch length and density for intricate designs. For stretchy fabrics, use a proper stabilizer to prevent the fabric from stretching during embroidery. Experiment with different stitch angles and underlay options to find the best combination that minimizes distortion.
Satin Stitch Gaps:
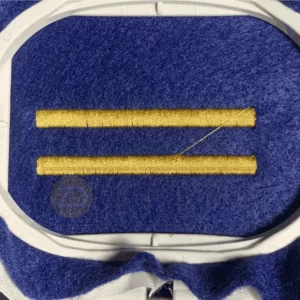
Satin stitch gaps can make the design look uneven and unfinished. To avoid this, make sure the satin stitches are closely placed together without leaving noticeable gaps. Increase the stitch density or use an underlay to fill any gaps and create a smoother finish. Adjusting the stitch angle can also help reduce gaps and create a more polished appearance.
Overlapping Stitches:
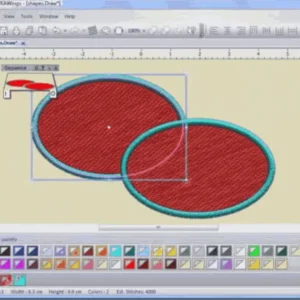
Overlapping stitches can result in a bulky and messy design. To prevent this, ensure that there is enough spacing between adjacent stitches. Use the “run” or “walk” stitch option in your embroidery digitizing software to create clean connections between stitches. Check the stitch order and sequence to avoid overlapping and to ensure a seamless embroidery outcome.
Thread Trims:
Frequent thread trims can disrupt the embroidery process and lead to inefficient production. To minimize thread trims, group elements with the same thread color together in the digitized design. Use jump stitches strategically to connect different color segments and reduce unnecessary trims. Properly sequencing the stitching order can also help minimize thread trims and enhance efficiency.
Incorrect Thread Tension:
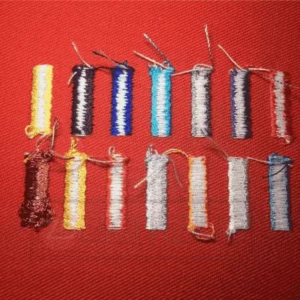
Incorrect thread tension can cause uneven stitches and affect the overall design quality. Regularly check and adjust the thread tension according to the fabric and thread type you are using. Conduct test runs with different thread tensions to find the optimal setting for each specific project.
Uneven Lettering Heights:
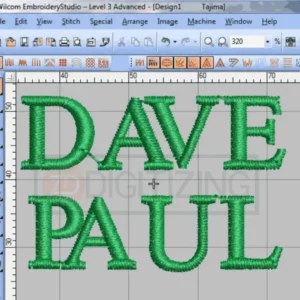
Uneven lettering heights can make the text appear unbalanced and unprofessional. When digitizing lettering, ensure that all letters have consistent heights and widths. Pay attention to the baseline and center alignment of the letters to achieve a uniform appearance. Avoid manual resizing, as it can lead to inconsistent lettering heights.
Stitch Run-Off:
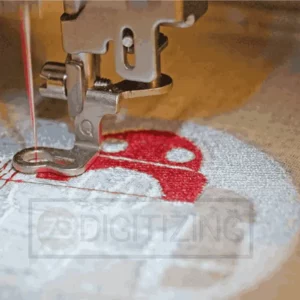
Stitch run-off can happen when the machine continues stitching beyond the design boundaries. To avoid this, set clear start and stop points for each element in your digitizing process. Use tie-in and tie-off stitches strategically to secure the threads and prevent run-off. Regularly inspect your embroidery machine to ensure it follows the designated stitch boundaries accurately.
Incorrect Spacing:
Improper spacing between elements can make the design look cluttered or sparse. When digitizing multiple elements, maintain consistent spacing between them. Use alignment tools and guidelines in your digitizing software to create even spacing. Pay attention to the overall composition and balance of the design to achieve a visually pleasing result.
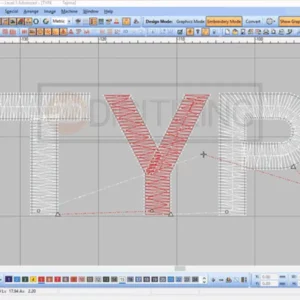
Tangled Threads:
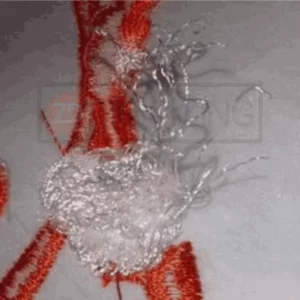
Tangled threads during embroidery can cause thread breaks and affect the design’s overall appearance. To prevent tangled threads, make sure the threads are flowing smoothly from the spool to the machine. Check the thread path and remove any obstructions or knots. Properly threading the machine and using high-quality threads can also reduce the likelihood of tangled threads.
Stabilizer Residue:
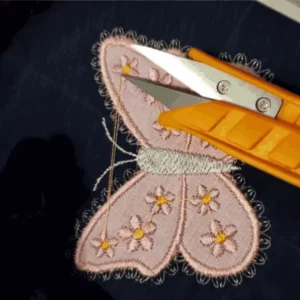
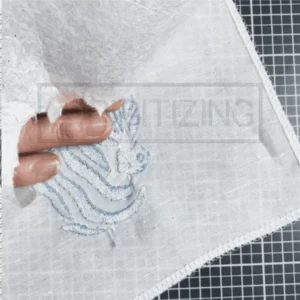
Stabilizer residue left on the fabric after embroidery can detract from the design’s finish. To avoid this digitizing process issue, use tear-away or cut-away stabilizers that cleanly remove from the fabric after stitching. Be cautious when removing the stabilizer, ensuring not to damage the embroidery. Follow the stabilizer manufacturer’s instructions for proper removal techniques.
Winding Up:
Types of embroidery digitizing services offer a realm of creative possibilities, but mastering the art requires overcoming common digitizing issues. By understanding the intricacies of each digitizing software issue and implementing comprehensive troubleshooting steps, you can elevate the quality of your embroidery projects and deliver outstanding results. We hope this extensive guide empowers you to tackle any obstacles you encounter during the types of embroidery digitizing services process and paves the way for an impressive embroidery journey. Happy digitizing!
Looking to digitize your embroidery designs? ZDigitizing is a reputable and proficient company offering comprehensive digitizing and vector art services globally. With a rapid turnaround and unparalleled quality, ZDigitizing is the perfect solution for all your digitizing requirements. Click the link below to receive a free quote in under 5 minutes and seize a remarkable 50% discount on your first order for potential customers.
Hope it will be helpful for you guys!
If there’s any question related to this article you can simply ask in the comment section and don’t forget to share with those you think might be helpful for them.
And finally, thanks for reading!
Frequently Asked Questions:
Common digitizing issues may include uneven stitch density, improper underlay, thread breaks, or misalignment. Addressing these problems promptly ensures high-quality embroidery.
If colors in your digitized image are inaccurate, check thread and design settings, use color matching tools, and verify thread color codes to achieve desired results.
To prevent loss of image quality during embroidery digitizing, use high-resolution artwork, optimize stitch settings, and avoid excessive resizing.
Fix jagged or distorted lines in digitizing by adjusting stitch angles, ensuring proper stitch direction, and using appropriate underlay for stability.
Inconsistent thread tension in digitizing may be caused by machine issues, incorrect digitizing settings, or thread quality. Regularly maintain the embroidery machine and check tension settings for optimal results.
Ensure consistent and accurate digitization results by using quality digitizing software, conducting test runs, and seeking professional digitizing services for intricate designs. Regularly evaluate and refine the digitizing process for improved outcomes.

