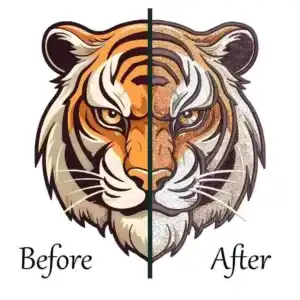
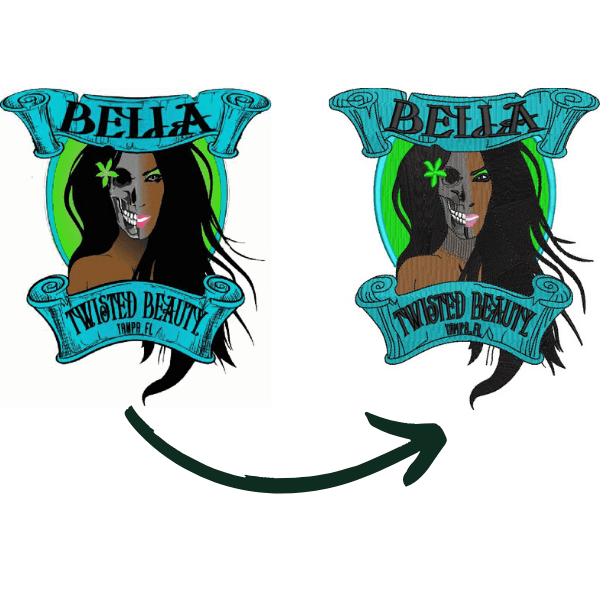
Have you ever dealt with a repeat embroidery order where wilcomworkspace proves essential for solving the chaos between sales proofs, digitizer revisions, and machine operator files? Oops, that is a frustrating headache for any USA embroidery shop, which is why mastering these cloud tools makes all the difference in keeping your production floor running smoothly.
This comprehensive Wilcom Workspace tutorial shows how to solve that chaos once and for all. We will walk through quoting a 3½-inch left chest logo on a piqué polo, saving the editable master, getting customer approval, and handing your operator a verified Tajima .DST file.
How to Use WilcomWorkspace: A Step-by-Step Guide
What Is wilcomworkspace, and Which App Do You Need?
When you manage multiple commercial apparel orders every day, keeping your software assets synchronized saves valuable time.
Here is how the cloud platform connects with desktop wilcom embroidery software or wilcom embroidery studio when your digitizer needs to build a brand-new design or change underlay and stitch paths from scratch.
App | Main job | USA shop example |
Estimator | Estimate stitches and prepare quotes | Sales quotes a 3½-inch polo logo from customer artwork |
Library | Store, search, and share design records across the organization | Customer service finds the approved EMB and its supporting files for a reorder |
Truesizer | Preview, recolor, resize, print worksheets, and export machine files | Production checks the stitch sequence and exports a Tajima DST |
Step 1. Set Up Your Wilcom Account and Give Your Team Access

Getting your staff onboarded correctly ensures everyone knows where to find files without unnecessary delays.
Signing in to wilcomworkspace login is simple once your administrator sets up your credentials on the dashboard. You will find available apps and your profile settings under My Account.
Access depends on your team’s subscriptions and assigned permissions. You should separate Wilcom’s Owner and Member roles from shop responsibilities such as quoting, digitizing, and releasing files to production.
For pricing, USA shops can check current USD pricing, billing intervals, and included seats directly on Wilcom’s official pages, noting which plans include wilcom workspace truesizer web or wilcom workspace truesizer. If you ever need advanced design creation tools or a full wilcom workspace studio setup, make sure your subscription tier matches those needs.
Step 2. Estimate the Stitch Count Before Quoting the Order
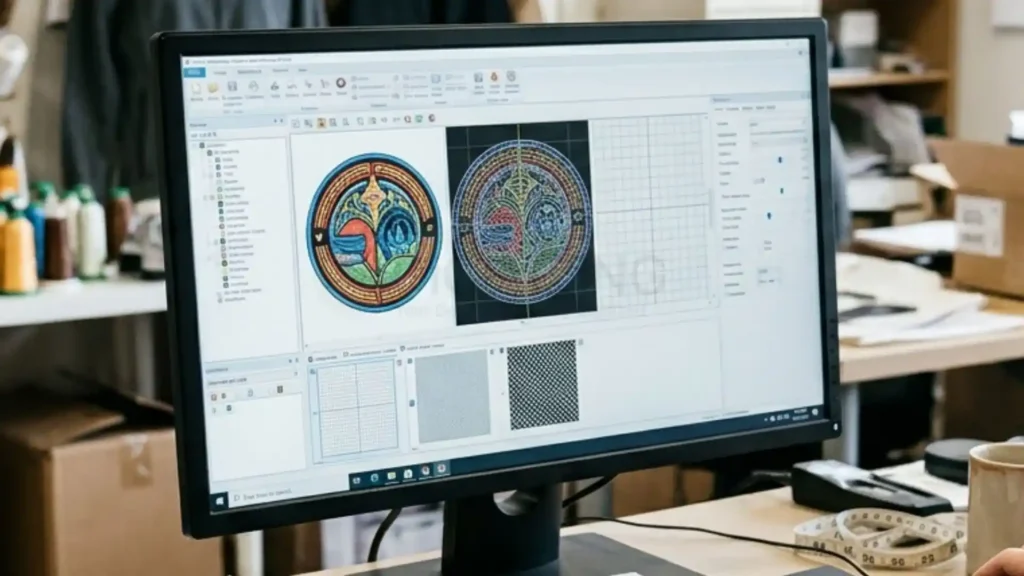
Accurate initial pricing prevents undercharging on large corporate apparel runs across your workshop.
Before you commit to a price for a USA client, you need a reliable stitch estimate. Open the Estimator app, upload a clean JPG or PNG artwork file, and enter the finished logo width in inches.
Your shop’s configured price tables can supply production and digitizing costs automatically. Save or print the quote for your records.
Sales uses this estimate for the initial quote, while production checks the actual stitch count in the finished file later. If you want to explore advanced features or check current wilcom workspace price tiers for your shop, visit the official site.
Step 3. Upload the EMB Master and Organize It for Repeat Orders
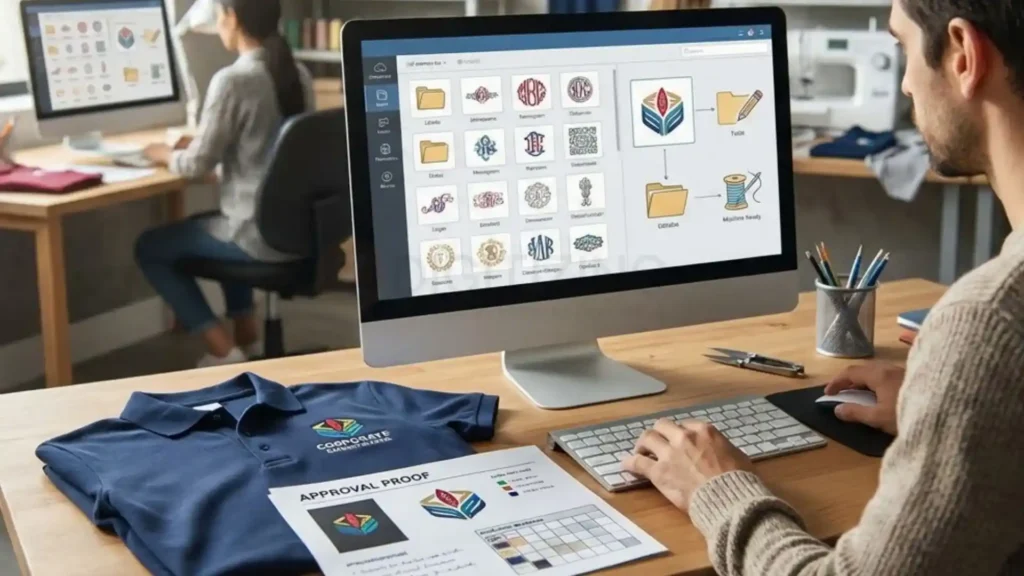
Proper file organization is the backbone of a successful commercial embroidery business.
Upload your approved design record to the cloud before importing a batch. Always keep the original .EMB file as your editable master and identify the .DST file as the machine file for the approved job.
Review AI tag suggestions, check available design properties such as dimensions and stitch count, and add useful searchable terms. Use the customer name, order number, garment type, and placement in your naming convention.
Attach the approved customer proof and a photo of the physical sew-out to the record so your team can find it easily next time. For this tutorial, use this naming example: Acme_PiquePolo_LeftChest_3p5in_v02.EMB. Keep that exact revision identifier on the proof, worksheet, and production file.
Step 4. Preview the Design, Revise It, and Record Customer Approval
Visual verification before running heavy machinery protects both your garments and your thread inventory.

Review the Stitch Sequence and Thread Colors in Truesizer
Navigate to Library, click the design’s More menu (), and select Open in Truesizer.
Use TrueView to check the stitch preview, finished dimensions, color changes, and stitching sequence. If you are recoloring the design, use the correct thread chart and spool codes for your sample job.
Here’s the catch: your digitizer should always return to the original .EMB file for a substantial size change. Shrinking a stitch-only .DST file can crowd small satin lettering and ruin the sew-out. Treat the browser preview as a review step and validate any major changes with a physical test.
Send a PNG Proof and Record the Exact Approved Revision
Select Download Design and choose PNG to get an image you can email to your client. Include the order number, finished width, garment placement, thread colors, and revision number.
Record customer approval through your shop’s standard process and attach the sign-off to your design record. Use practical shop labels such as Needs Sampling, Customer Approved, and Released to Production.
Keep in mind that Library temporarily locks a design for editing while it is open in Truesizer. Keep that editing lock separate from your shop’s actual approval workflow.
Step 5. Print the Production Worksheet, Export the DST, and Run a Test Sew-Out
Clear floor instructions bridge the gap between digital vector art and physical garment production.

Give the Operator a Worksheet That Matches the File
Open your wilcom workspace library to review the production worksheet, highlighting the design name, revision number, finished size, stitch count, thread colors, and color sequence.
Add the order’s specific garment type, hoop size, backing choice, and placement instructions where your shop records setup notes. Clear documentation prevents costly mistakes on the shop floor.
Export the Approved Machine File and Verify It on the Floor
Go to Truesizer, select Export Machine File, choose your machine format, and hit Export. Use .DST for standard Tajima setups, but always confirm the format for your exact machine model.
The operator should match the DST revision to the worksheet and load thread in the specified needle order. Run your sample on the same type of piqué polo using your intended hoop and backing. Check whether the small lettering stays readable, the outlines align, and the fabric lies flat around the design.
When you need professional vector conversion or complex embroidery digitizing services, partnering with an expert team ensures your files run smoothly on heavy-duty commercial equipment.
For instance, We offers reliable embroidery digitizing services with a 30% off discount on your first order.
WilcomWorkspace Troubleshooting for USA Embroidery Shops
Quickly diagnosing common digital errors keeps your workflow moving without costly machine downtime.
Problem | Check first | Next action |
A team member cannot see an app | Subscription and assigned access | Have the account owner review the user’s access |
A design opens for viewing but cannot be edited | Active Truesizer editing session | Ask the teammate to finish editing and close the design |
A DST preview shows different colors | Approved proof and thread chart | Use the worksheet to confirm the actual thread codes and needle order |
Small lettering crowds after resizing | Whether the change started from a stitch-only machine file | Reopen the original EMB, review the lettering, and sew a fresh sample |
The machine has the wrong revision | Order number and revision across the worksheet and export | Return to the approved EMB and export the matching production file |
Best Practices for Managing Repeat Orders in the USA
Implementing structured protocols across your shop prevents miscommunication between departments.
Start by picking 10 recurring customer designs and standardizing their names before importing a larger collection into your system.
Keep separate approved records when the same logo needs different stitch construction for a structured cap versus a piqué polo. Assign one person to release each production revision, and store the approved proof, matching worksheet, and sew-out photo right alongside the master design.
Keep a separate backup of critical EMB masters. If you ever delete an item, remember that Library includes a 30-day design recovery window in its recycle bin.
Start With One Repeat Order
Pick one recurring polo order today, organize its master file and proof, print the worksheet, and verify your exported file with a test sew-out.
If you ever need expert support or want to test out ZDigitizing for complex caps or logos, their professional team delivers clean files tailored for commercial embroidery shops across the USA, backed by expert manual pathing, 24/7 support, and 30% off your first order.