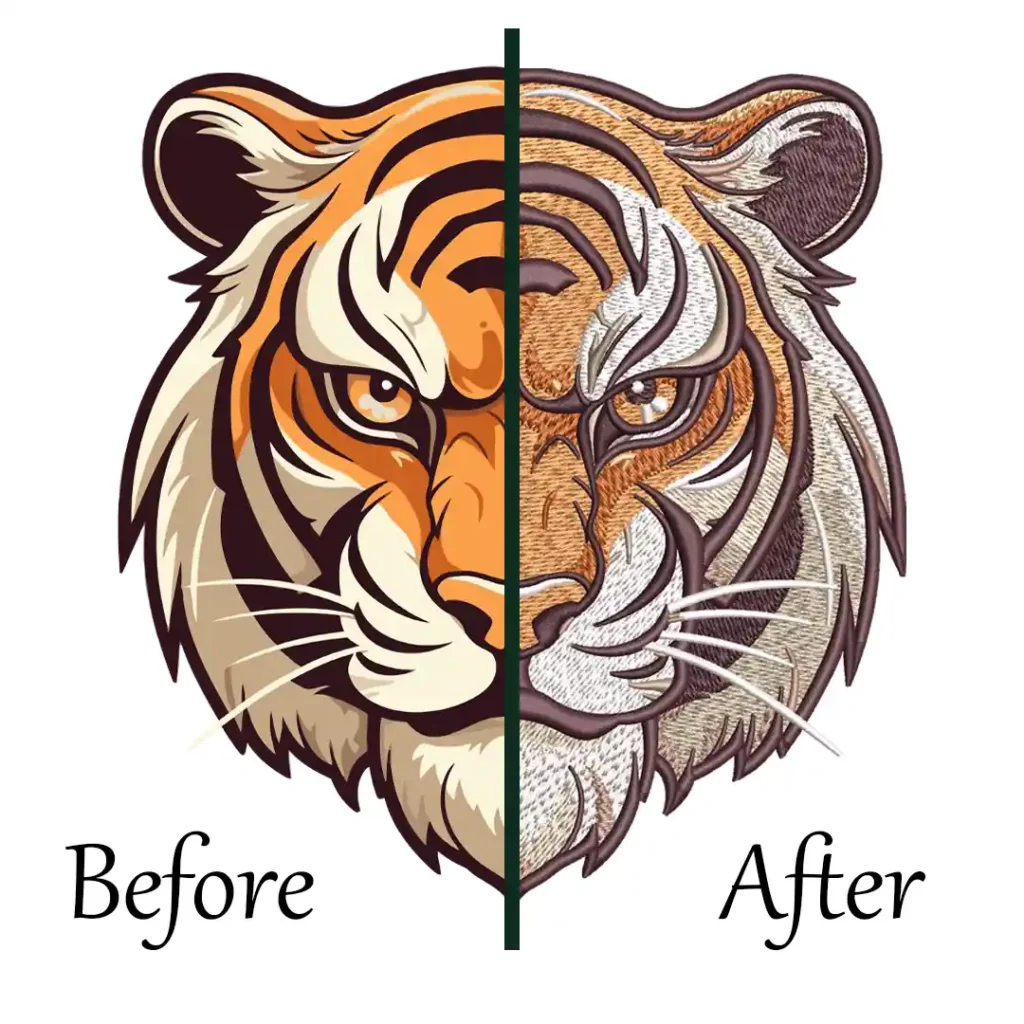
Have you ever found yourself needing to remove embroidery from a fabric but didn’t know where to start? Whether it’s a mistake or an old design you no longer like, remove embroidery doesn’t have to be difficult. In fact, with the right tools and a little patience, you can easily remove machine embroidery without damaging the fabric.
In this guide, we’ll walk you through the simple steps to safely take off embroidery, ensuring your fabric stays intact.Let’s dive into the process and make it easy for you to handle any embroidery mishap.
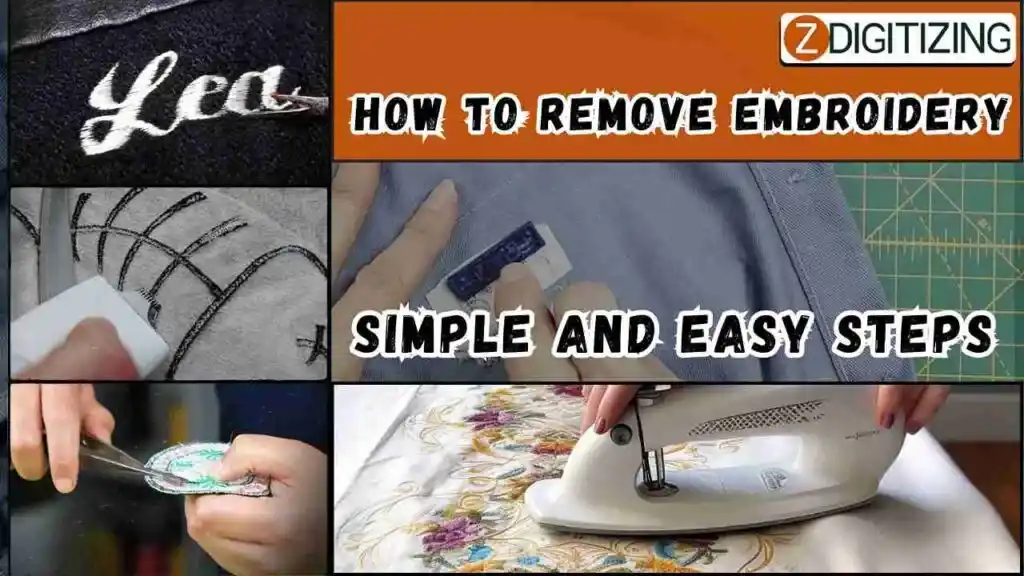
How to Remove Embroidery | Simple and Easy Steps
Can Embroidery Be Removed?
Yes, you can remove embroidery easily. But embroidery removal is time taking especially for embroidery fonts or designs with small motifs and running stitches. So, here you have to be patient and work fast. But sometimes it is impossible to salvage embroidery blanks. For example, fabrics like vinyl, leather, velvet, and cardstock have needle holes after embroidery removal. Some other thin fabrics like chiffon, silk, or jersey never look as same as before embroidery. So, these embroidery mistakes can be difficult to fix. But don’t feat! Check our blog for easy ways to fix embroidery mistakes.
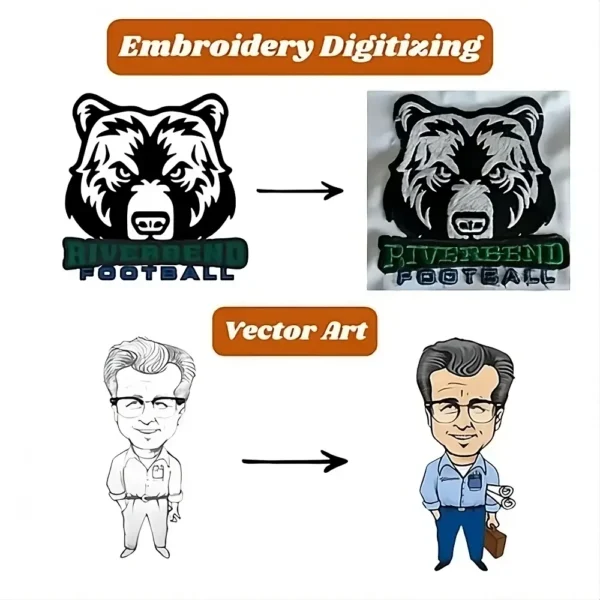
Embroidery Digitizing & Vector Art Services
Looking for embroidery digitizing and vector art services that are affordable and reliable? We offer fast turnaround time, guaranteed quality, and the option to preview your design before payment, we make sure you get exactly what you need. Your satisfaction is our top priority, and we’re dedicated to delivering the best results. Don’t wait—try ZDigitizing today and see the difference in quality and service!
Looking for embroidery digitizing and vector art services that are affordable and reliable? We offer fast turnaround time, guaranteed quality, and the option to preview your design before payment, we make sure you get exactly what you need. Your satisfaction is our top priority, and we’re dedicated to delivering the best results. Don’t wait—try ZDigitizing today and see the difference in quality and service!
Before beginning the process of embroidery removal, it’s essential to gather the right tools. Having the correct tools on hand will make the process more efficient and smooth. Below are the necessary tools for removing embroidery:
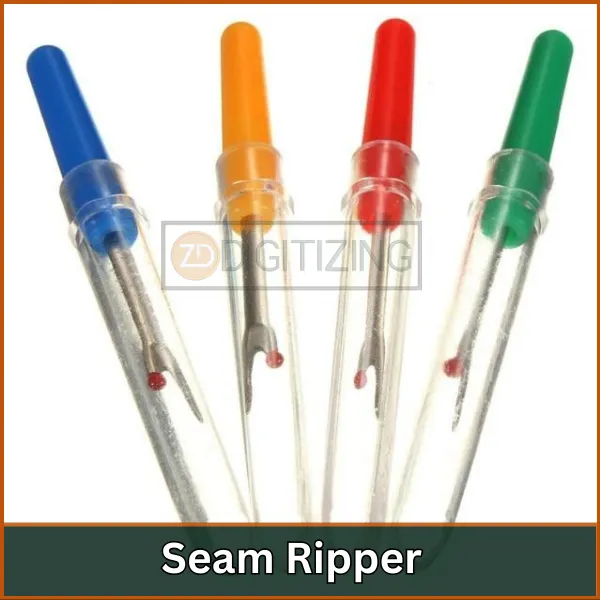
Seam-Ripper
Seam Ripper (A must-have tool with a sharp point and small blade to cut threads efficiently.)
Embroidery-Eraser
Embroidery Eraser (Also known as a stitch eraser, an electric tool resembling a beard trimmer for removing large embroidery designs.)
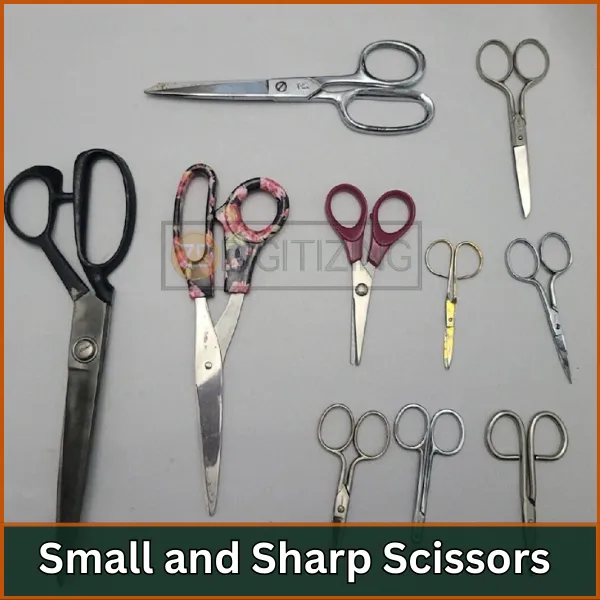
Small-and-Sharp-Scissors
Small and Sharp Scissors (Precision scissors that help trim excess threads and cut stitches carefully.)
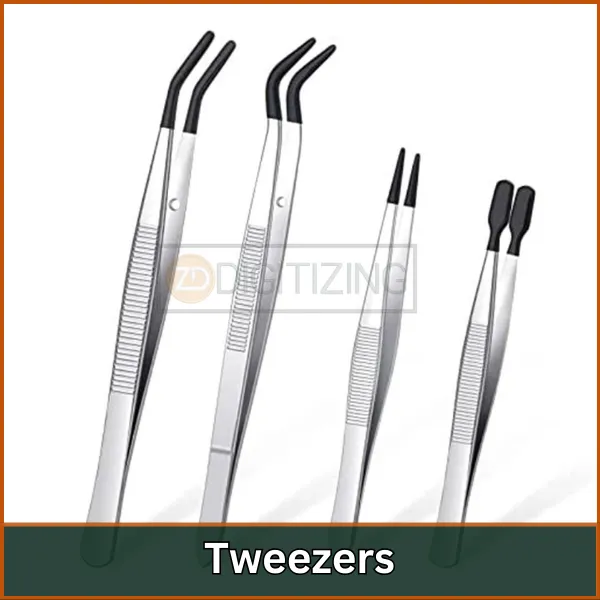
Tweezers
Tweezers (Useful for picking out loose threads and removing remaining bits of thread after removal.)
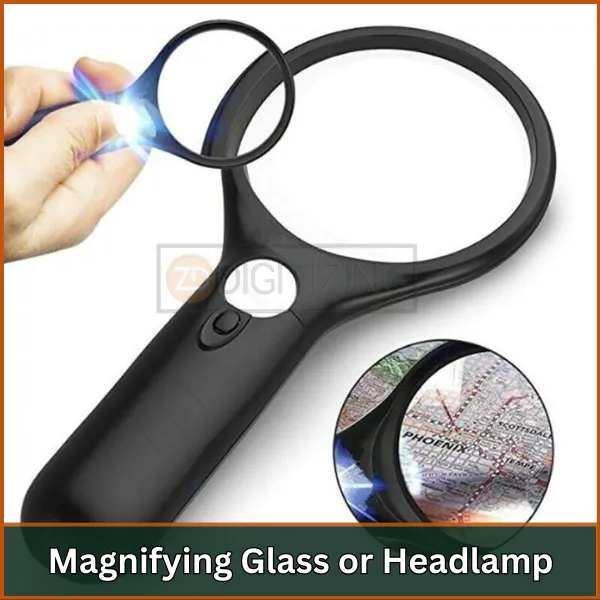
Magnifying-Glass-or-Headlamp
Magnifying Glass or Headlamp (Helps see fine embroidery details and ensures no stray threads are left behind.)
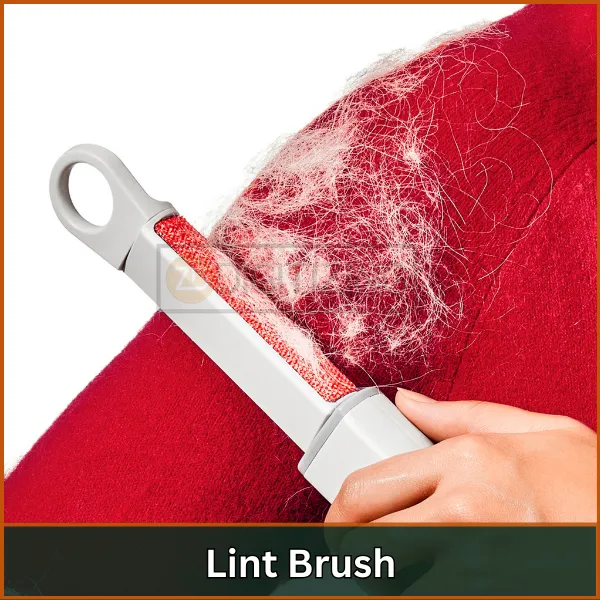
Lint-Brush
Lint Brush (Removes lint, fuzz, and dust from the fabric to give you a clearer view while working.)
3 Best Ways to Remove Embroidery Effortlessly
Embroidery contains hundreds sometimes thousands of stitches. For removing it you have to cut each stitch. So you’ve to be patient.
Now, we’ll discuss 3 easy ways to machine embroidery removal without damaging your fabric. These ways include:
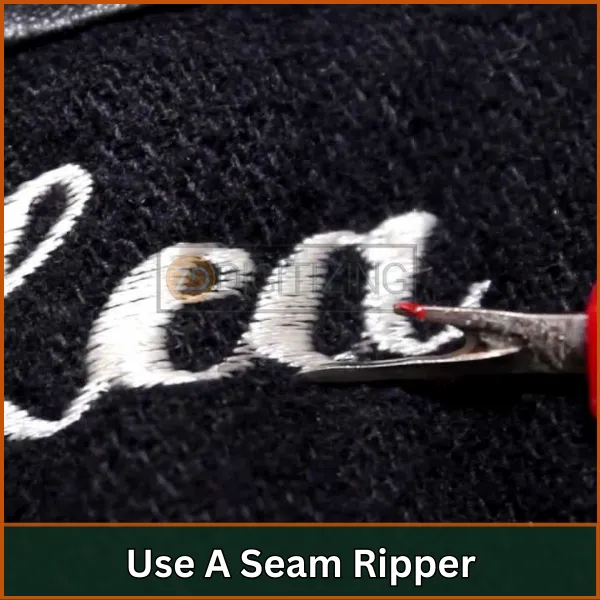
Use A Seam Ripper
Use Embroidery Eraser
Use Small Embroidery Scissors
1. Use A Seam Ripper
Use-A-Seam-Ripper
The first way how to remove embroidery stitches is by using a seam ripper. It is an important embroidery stitch remover tool in your tool kit.
Turn Fabric Inside Out: First, you have to turn the backside of the garment so you can easily see the stitches. This will limit the accidental cuts that can leave a permanent mark.
Stabilizer removal: If you have a stabilizer or backing you need to remove it. For removal, visit our article on how you can remove stabilizers without leaving any marks.
Stitches Cutting: Decide how many stitches you want to cut at a time depending on the type of fabric and then slide the seam ripper under the stitches and lift upward at a slight angle. For instance, if the material is thin you need to cut a few stitches at a time. On the other hand, you can cut more stitches if the material is thick.
Turn the Right Side of the Fabric: Now, turn the right side of the fabric and ensure that every thread is loose and starts fraying.
Use Tweezer to Pull Threads: Carefully pull all the fraying threads using Tweezer. If you find any difficulty in pulling you can use scissors to cut those threads.
Repeat the Process: Repeat all the above steps until you completely remove the stitches.
Removing Fuzz Using Lint Roller: Once you cut all the threads you can use a lint roller to get rid of the fuzz left behind.
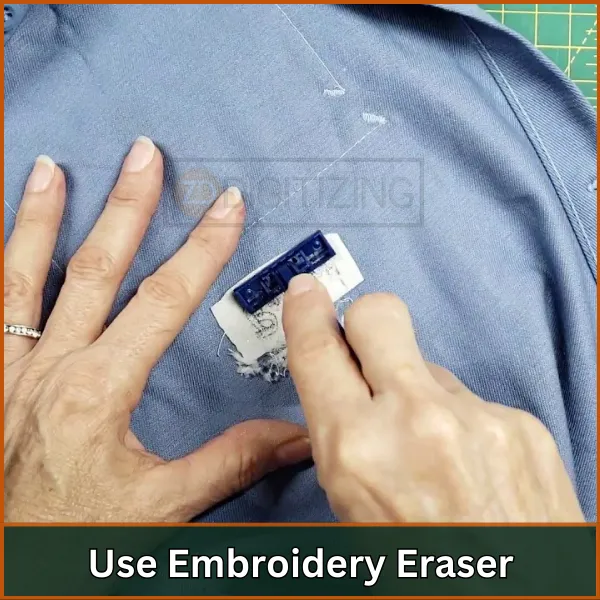
2. Use Embroidery Eraser
Use-Embroidery-Eraser
Now, let’s discuss how to remove embroidery stitches with a razor also known as a stitch eraser. The embroidery eraser or stitch eraser, is specifically designed for embroidery removal.
It just looks like an electric trimmer. It is the easiest way to remove stitches but we don’t recommend it for hand embroidery.
It is an expensive method but if you want to remove a lot of stitches it is worth buying. You can purchase it from any online store or a well-stocked fabric store.
How you can use it let’s have a look:
Turn Fabric Inside Out: For removing embroidery stitches turn the back side of your fabric so you can have easy access to threads.
Put the Fabric in Hoop: You need to tighten the area of fabric that has embroidery. For this purpose, you can use embroidery hoops. This will taut the fabric and the eraser will have an easy time cutting threads.
Thread Cutting: Turn on the stitch eraser and place its teeth or blades against the embroidery. Also, ensure that the teeth are properly dug in stitches. Push this tool back and forth on embroidery just like shovel or cart. Remember, you have to apply enough pressure so you only cut thread not the fabric itself.
Repeat: Keep going until you cut all the threads.
Pull out stitches: Once you cut all embroidery threads turn the right side of the fabric. Pull out all stitches using a tweezer or any needle. Slide the needle under the threads and pull it upward. If you find any stubborn thread that doesn’t come out turn the back side of it and re-cut it. You can again use an eraser but if few threads left you can use a scissor or a seam ripper to cut them.
3. Use Small Embroidery Scissors
Embroidery scissors are different as compared to normal scissors. They are small in size and have sharp pointed tips. Also, they are ideal for small embroidery areas and cut only your desired thread. Whereas, standard scissors are large and clunky and cut the fabric unitentially.
Turn Fabric Back: To remove stitches always start from the back side of the fabric. So, you can easily access threads without damaging the fabric itself.
Cut the Threads: Silde pointed-tip of the scissors under the stitches and cut them. During this process, you have to be careful not to cut the fabric.
Turn Fabric Front Side: Turn the right side of your garment after cutting all the stitches. Loosen the thread by your fingertips and pull them out by tweezer. Thoroughly check the back and front sides and make sure you cut and pull all threads.
Clean the Area: Now, clean all threads left behind using a lint roller and finish this process.
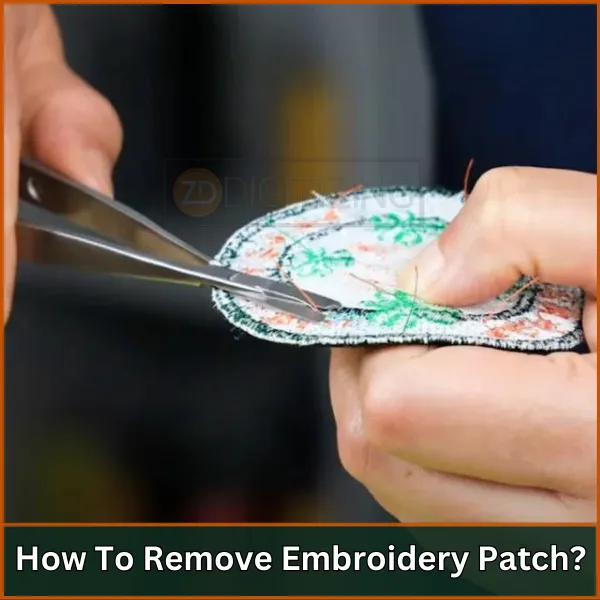
How To Remove Embroidery Patch?
How-To-Remove-Embroidery-Patch
We’ve already discussed how to remove regular embroidery, but there’s another form of embroidery known as an embroidery patch. Let’s see how you can remove it
Method # 1
For removing patches, first, you have to cut stitches that hold it in place. Turn the back side of the fabric where the stitches will be more prominent. Secondly, pull out the stitches using a seam ripper or you can cut them using scissors.
If the embroidered patch doesn’t come off even after removing all stitches then maybe adhesive is applied. For this, you have to follow the next method.
Method # 2
You can remove adhesive by using a hot iron or any embroidery adhesive remover that is fabric-safe. Carefully follow care tips when you’re using a steam iron. Before using it directly on fabric test it on scraped pieces of fabric.
Alternatives Methods to Remove Embroidery
While the techniques mentioned above are effective for removing embroidery, you can explore a few alternative methods, depending on your specific situation and preferences.
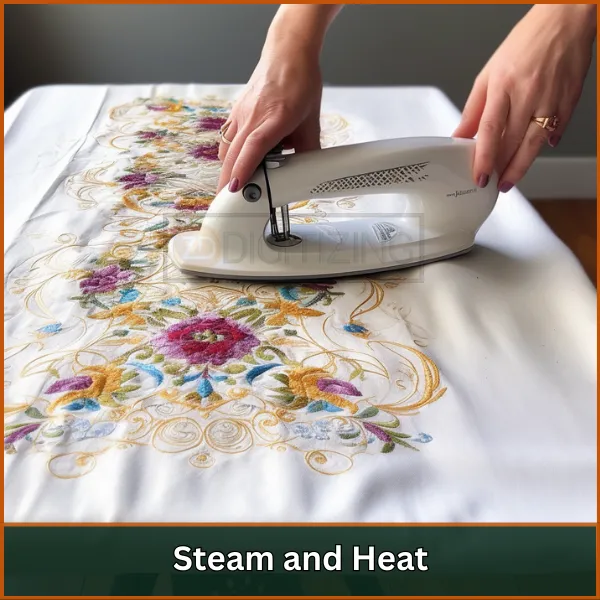
Steam and Heat
Steam-and-Heat
If you’re dealing with stubborn stitches or adhesives used in machine embroidery, steam and heat can be your allies. Place a damp or press cloth over the embroidery and use a steam iron on the lowest heat setting.
The steam will soften the threads and make it easier to remove them. Be cautious not to overheat or scorch the fabric, especially if it’s delicate.
If you have a shirt and want to know how to remove patches from a shirt or any other garment with backing, then this method is best.
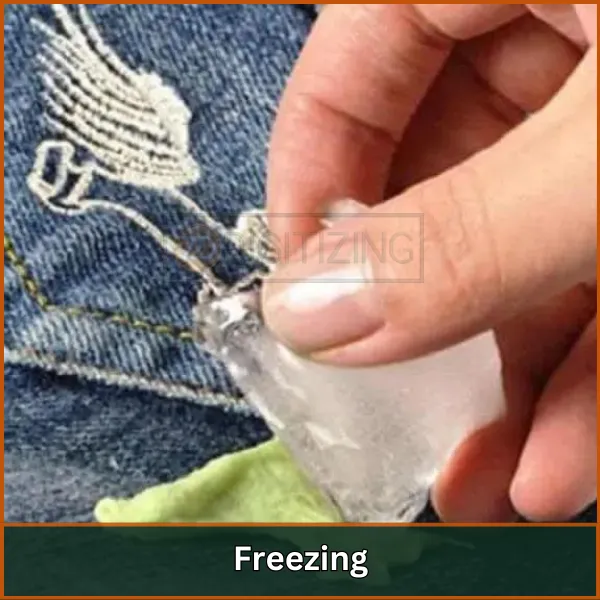
Freezing
Freezing
For small embroidery patches or delicate fabrics, freezing can be a gentle method. Place the fabric in a sealable plastic bag and put it in the freezer for several hours or overnight.
The cold will make the threads brittle, allowing you to break or pick them off with minimal effort. This method is less aggressive and may be suitable for removing patches on delicate fabrics.
Will Removing Embroidery Leave Holes?
Now that you’ve learned how to remove machine embroidery, some of you might be wondering, ” Does the removal of embroidery leave holes in the fabric?”
Since embroidery designs consist of hundreds of stitches, it’s possible that holes may be left behind after removal. In some cases, they may not be visible, but if a large hole appears during the process, don’t worry—you can easily fix it.
Don’t get frustrated!
For removing holes, you may need to embroider over them again. If you don’t have a design to hide the holes, you can contact us. Our team of expert digitizers will understand your issue and provide you with a custom design at the most affordable rate possible.
Embroidery Digitizing & Vector Art Services
Looking for embroidery digitizing and vector art services that are affordable and reliable? We offer fast turnaround time, guaranteed quality, and the option to preview your design before payment, we make sure you get exactly what you need. Your satisfaction is our top priority, and we’re dedicated to delivering the best results. Don’t wait—try ZDigitizing today and see the difference in quality and service!
Looking for embroidery digitizing and vector art services that are affordable and reliable? We offer fast turnaround time, guaranteed quality, and the option to preview your design before payment, we make sure you get exactly what you need. Your satisfaction is our top priority, and we’re dedicated to delivering the best results. Don’t wait—try ZDigitizing today and see the difference in quality and service!
It may seem daunting at first but if you have the right tools and follow our techniques you can easily manage it. Whether you repurposing garments or removing embroidery mistakes the key lies in precision, patience, and time.
By mastering removing embroidery techniques you can enhance your embroidery skill.
If you have an embroidery project and want designs look no further than Zdigitizing. We provide embroidery digitizing services with a fast turnaround time. You can also check our website and visit our services.
We also offer 50% off on all services for our first-time clients. We also offer FREE QUOTE generated in just 5 minutes.
Grab this limited-time offer and take your embroidery project to the next level with Zdigitizing.
If you’ve any questions related to the topic you can ask them in the comment section.
The fastest way to remove machine embroidery is to use an electric seam ripper, which can quickly cut through stitches. However, this method requires precision to avoid damaging the fabric.
If you want to get rid of the backing on your embroidery project, the simplest method to do it is to peel away the excess backing carefully. Afterward, soften the leftover backing with a warm, damp cloth or sponge so that you may pull it off without harming the fabric.
Removing embroidery stitches can be challenging, but using a sharp seam ripper and taking your time can make the process easier. It’s important to work patiently and methodically to avoid damaging the fabric.
To remove stitches, gently slide a seam ripper under each stitch, cut the thread, and lift it out. Use tweezers to pick out any remaining bits, and trim excess thread with small scissors. Work carefully to avoid damaging the fabric.
To remove difficult stitches, gently use a seam ripper or needle to loosen and lift the stitches one at a time carefully. Be patient and work slowly to avoid damaging the fabric. If needed, use a magnifying glass for precision.
Are you looking for embroidery digitizing and vector art services at low cost with superfast turnaround, guarranted quality and preview before pay? So, you are at right place. We can digitize and vectorize any type of artwork in your required file format.