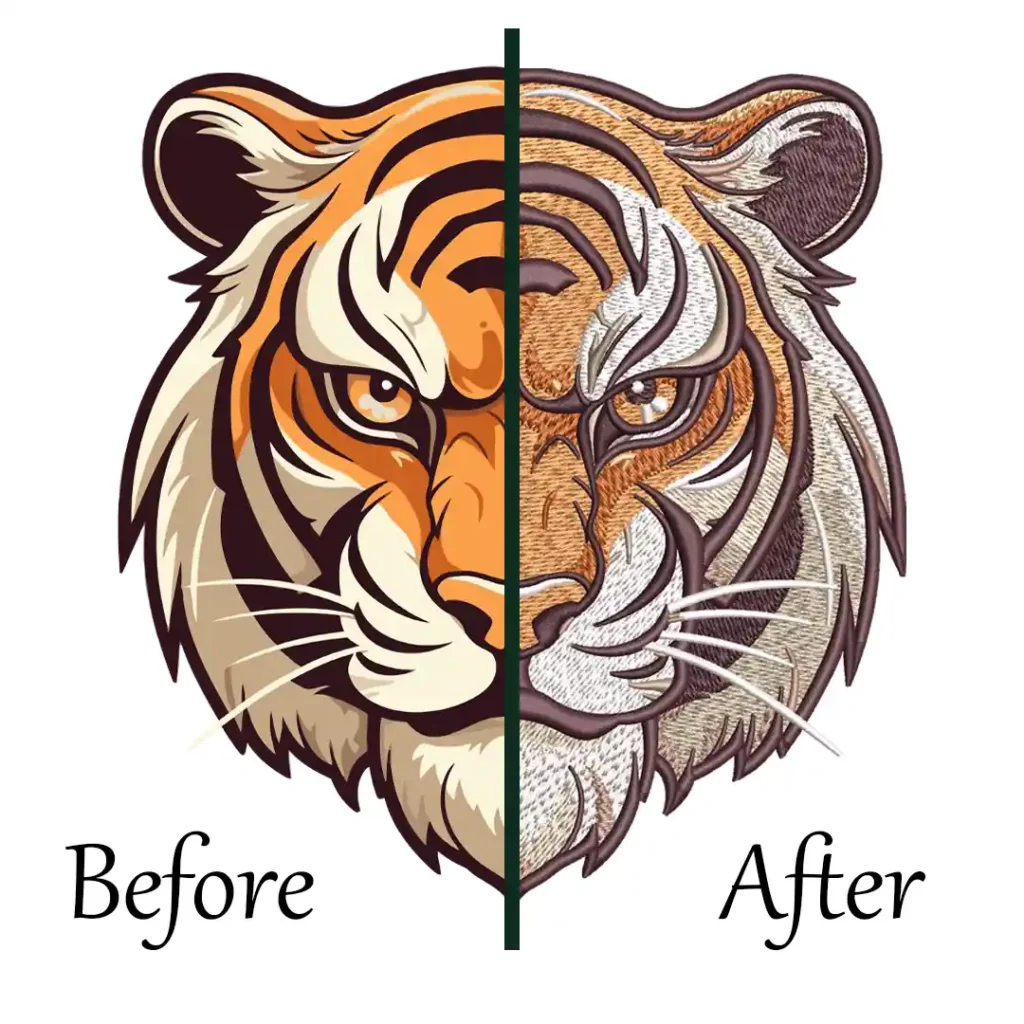
Embroidery machines have revolutionized the art of embroidery, making it more accessible and convenient for enthusiasts and professionals alike. Whether you are a seasoned embroiderer or just starting out, understanding how to use embroidery machine is essential to bring your creative visions to life.
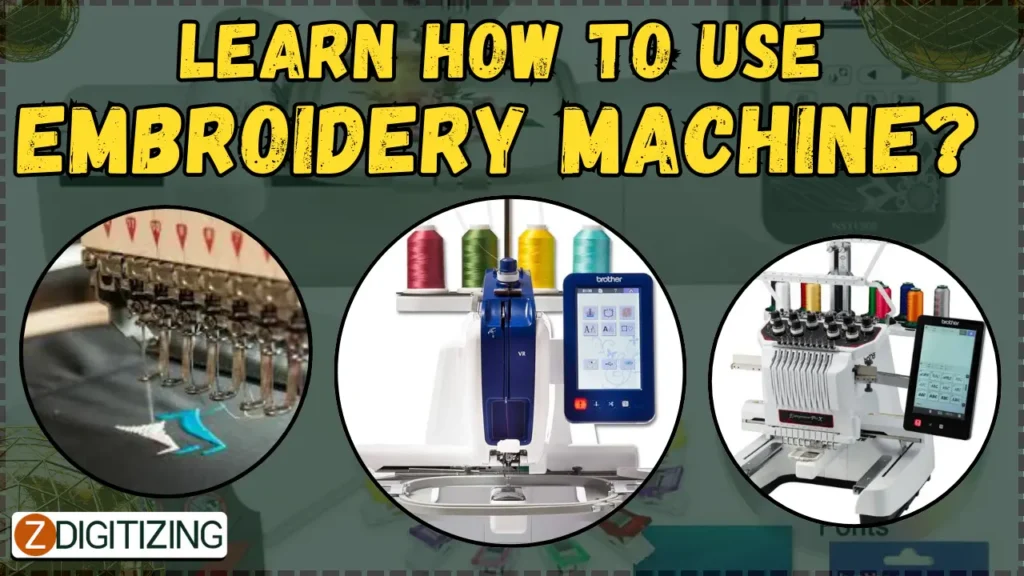
This article aims to provide a comprehensive guide on learn using embroidery machines, from the basics of machine types and setup to the exploration of advanced techniques and troubleshooting tips.
By the end, you will be equipped with the knowledge and skills to unleash your creativity and create stunning embroidered designs with ease.
Learn How To Use Embroidery Machine?
What is an Embroidery Machine?
Embroidery machines are a crafter’s dream come true. These nifty devices take the art of hand embroidery and give it a high-tech twist. Think of them as your very own personal assistant who does all the hard work for you.
With an embroidery machine, you can effortlessly create intricate designs, monograms, and patterns on fabric with just a few simple steps.
Benefits of Using an Embroidery Machine
In how to use embroidery machine guide it comes with a plethora of benefits. First and foremost, it saves you a ton of time and effort.
No longer will you have to painstakingly stitch every detail by hand. The machine does all the work while you sit back and enjoy a cup of tea (or your beverage of choice).
Embroidery machines also provide consistent and precise results. Unlike the human hand, the machine won’t get tired or make mistakes. It ensures that each stitch is flawless, giving your projects a professional and polished appearance.
Moreover, embroidery machines come with a wide range of built-in designs and fonts, allowing you to get creative without any artistic skills. You can personalize gifts, embellish clothing, or create beautiful home decor items with ease.
Different Types of Embroidery Machines
In the journey of learning how to use an embroidery machine the first step is to understand different kinds of embroidery machines:
Single-Needle Embroidery Machines
If you’re just starting out or have limited space, a single-needle embroidery machine is a perfect choice. These machines have a single needle that moves up and down, creating intricate designs on fabric.
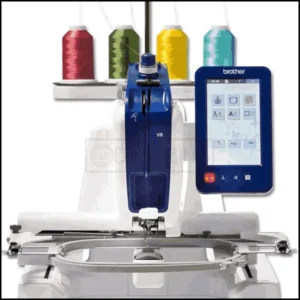
While they may not have the capacity for complex multi-colored designs, they are great for beginners and hobbyists.
Multi-Needle Embroidery Machines
For those looking to take their embroidery game to the next level, multi-needle embroidery machines are the way to go. These machines have multiple needles, usually ranging from four to ten.
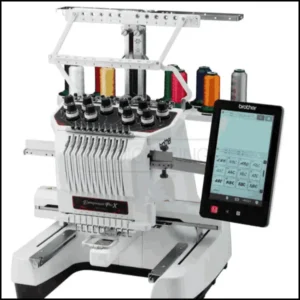
This allows you to use different colors without constantly changing threads, making intricate designs a breeze. They are ideal for small businesses or individuals who want to create professional-grade embroidery.
Embroidery Digitizing
&
Vector Art Services
Are you looking for embroidery digitizing and vector art services at low cost with superfast turnaround, guaranteed quality and preview before pay? So, you are at right place. We can digitize and vectorize any type of artwork in your required file format.
Computerized Embroidery Machines
If you want to embrace the future of embroidery, look no further than computerized embroidery machines.
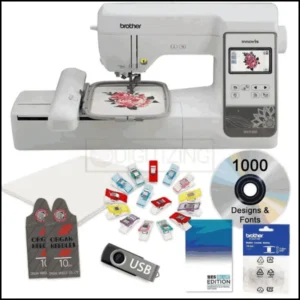
These marvels of technology allow you to upload designs directly from your computer, eliminating the need for manual pattern transfer. With a few clicks, you can transform your digital creations into embroidered masterpieces.
Choosing the Right Embroidery Machine for Your Needs
Whether you’re a beginner or an experienced crafter, selecting the right embroidery machine is crucial to match your skill level, project needs, and budget.
Considerations When Selecting an Embroidery Machine
When selecting an embroidery machine, it’s crucial to consider your specific needs. Think about the size of your projects, the level of complexity you desire, and your budget.
Additionally, keep an eye out for features such as hoop size, built-in designs, and embroidery speed.
Exploring Different Brands and Models
Embroidery machines come in various brands and models, each with its own set of features and quirks. Take the time to research different brands, read customer reviews, and compare models before making a decision.
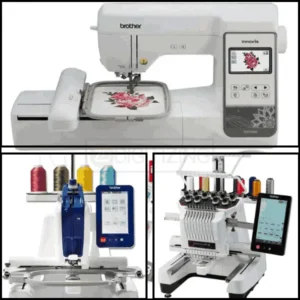
Consider visiting local dealers or attending craft expos to get hands-on experience with different machines. By exploring your options, you’ll ensure that you find the perfect machine that suits both your budget and creative aspirations.
Setting up Your Embroidery Machine
The next step in learning how to use an embroidery machine is to understand how to set up your embroidery machine:
Unboxing and Assembling the Machine
Congratulations on your new embroidery machine! Before you can start stitching away, you’ll need to unbox and assemble it. Make sure to carefully follow the manufacturer’s instructions to ensure a smooth setup process.
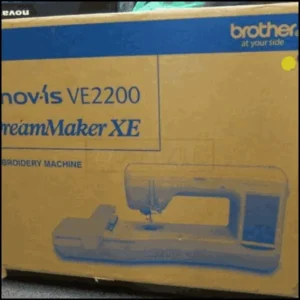
Remember to connect any necessary cables, attach the embroidery hoop, and install the required software.
Connecting and Configuring the Machine
Once your embroidery machine is assembled, it’s time to connect and configure it. Most machines have a USB port or wireless capabilities, allowing you to transfer designs from your computer or directly download them from the internet.
Follow the instructions to establish a connection and configure settings such as thread tension and stitch density.
Familiarizing Yourself with the Essential Tools and Materials
Familiarizing yourself with items like needles, threads, hoops, and stabilizers is key to bringing your embroidered visions to life with precision and beauty.
Must-Have Embroidery Supplies
Embroidery may seem like a fancy art form, but it really just requires a few key tools and materials. To get started, make sure you have these essentials on hand:
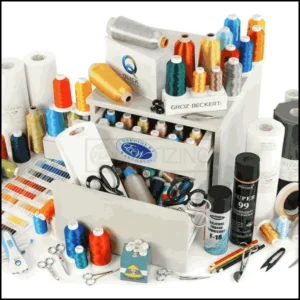
- Embroidery Machine: Of course, you’ll need a good quality embroidery machine. Look for one that suits your needs and budget.
- Hoops: Hoops are used to hold the fabric taut while embroidering. Make sure you have a variety of hoop sizes to accommodate different projects.
- Stabilizer: Stabilizer is a material that is placed underneath the fabric to give it stability and prevent puckering. There are different types of stabilizers, so choose the one that is suitable for your project.
- Needles and Thread: You’ll need embroidery needles and thread specifically designed for machine embroidery. These are stronger and can withstand the speed of the machine.
Understanding Different Types of Embroidery Threads
Embroidery threads come in a variety of materials, colors, and weights. Here are some common types of embroidery threads you’ll come across:
- Rayon: Rayon threads are popular because they have a lustrous sheen and are available in a wide range of colors. They are great for creating vibrant and shiny designs.
- Polyester: Polyester threads are durable and colorfast, making them a practical choice for embroidery projects. They also have a high sheen and come in a variety of colors.
- Cotton: Cotton threads are known for their natural look and feel. They are versatile and can be used for both delicate and bold designs.
- Metallic: Metallic threads add a touch of glamour to your embroidery projects. They are made of a thin metal foil wrapped around a core and are available in various metallic shades.
Understanding the different types of embroidery threads will help you choose the right thread for your design and achieve the desired effect.
Embroidery Digitizing
&
Vector Art Services
Are you looking for embroidery digitizing and vector art services at low cost with superfast turnaround, guaranteed quality and preview before pay? So, you are at right place. We can digitize and vectorize any type of artwork in your required file format.
Learning the Basic Embroidery Techniques
Mastering basic embroidery techniques in the process of learning how to use embroidery machine lays the foundation for creating stunning, intricate designs on fabric.
From learning simple stitches to understanding color theory and pattern creation, this journey enriches your crafting skills and opens the door to endless artistic possibilities.
Placing and Hooping the Fabric
Before you start embroidering, it’s important to properly place and hoop your fabric. Here are the steps to follow:
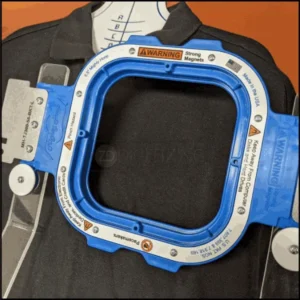
- Cut your fabric to the desired size, leaving some extra for the hoop.
- Place the fabric on a flat surface and position the inner hoop underneath the fabric.
- Lay the outer hoop on top and press down firmly, ensuring the fabric is taut but not stretched.
- Tighten the hoop screw to secure the fabric in place.
Selecting and Editing Embroidery Designs
Once your fabric is hooped, it’s time to select and edit your embroidery design. Here’s what you need to do:
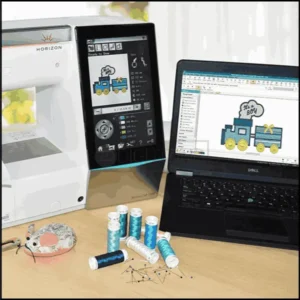
- Browse through the library of designs in your embroidery machine or import designs from your computer.
- Choose a design that suits your project and load it onto the machine.
- Use the machine’s editing features to resize, rotate, or mirror the design as desired.
- Preview the design to ensure it looks the way you want it to.
Transferring Designs to the Machine
With your design selected and edited, it’s time to transfer it to the embroidery machine. Here’s how:
- Connect your machine to your computer if necessary, or use a USB drive to transfer the design.
- Follow the instructions on your machine to load the design into its memory.
- Ensure the thread and necessary thread colors are loaded onto the machine.
- Your machine is now ready to embroider the design onto your fabric.
Exploring Advanced Embroidery Techniques and Features
Exploring advanced embroidery techniques and features is an exciting journey that elevates your craft to new heights.
Using Built-in Embroidery Designs
Many embroidery machines come with built-in designs that you can use right away. Explore these designs and experiment with different combinations to create unique projects.
Creating Custom Designs
If you want to take your embroidery to the next level, consider creating your own custom designs. There are software programs available that allow you to digitize your own artwork or modify existing designs.
Experimenting with Different Stitch Styles
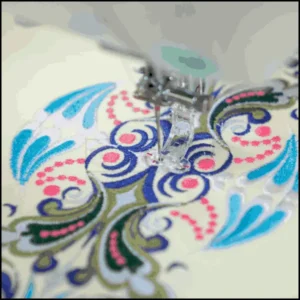
Embroidery machines offer a variety of stitch styles to play with. Try out different stitch patterns, densities, or fill styles to add depth and texture to your designs.
Troubleshooting Tips and Maintenance for Your Embroidery Machine
Maintaining and troubleshooting your embroidery machine is essential for ensuring its longevity and optimal performance.
Learning how to effectively address common issues and perform regular maintenance can save time, protect your investment, and keep your machine running smoothly for all your creative projects.
Common Issues and Solutions
Embroidery machines, like any other equipment, may encounter some issues. Here are a few common problems and their solutions:
- Thread Breaks: Check for tangled thread, incorrect tension, or a dull needle. Re-thread the machine and ensure the thread is properly seated in the tension discs.
- Stitches Skipped: This could be due to a bent needle, incorrect needle size, or a dull needle. Replace the needle and make sure it is inserted correctly.
- Puckering Fabric: Use a suitable stabilizer and make sure the fabric is hooped tautly. Avoid hooping fabric too tightly, as it can cause distortion.
Cleaning and Maintaining Your Machine
Regular maintenance is important to keep your embroidery machine running smoothly. Follow the manufacturer’s instructions for cleaning and oiling the machine, and keep it covered when not in use to prevent dust accumulation.
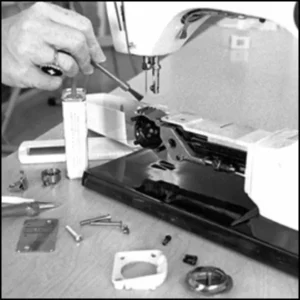
With these troubleshooting tips and maintenance practices, you can keep your embroidery machine in top shape and prevent potential issues from hampering your creative endeavors.
Conclusion
In conclusion, learning how to use an embroidery machine opens up a world of creative possibilities. By mastering the basics of machine types, setup, and essential techniques, you can embark on a journey of artistic expression and personalization.
As you delve into advanced features and explore different stitching styles, your embroidery projects will evolve and become even more remarkable. Remember to keep your machine well-maintained and troubleshoot any issues that may arise, ensuring a smooth and enjoyable embroidery experience.
So, embrace the world of embroidery machines and let your imagination soar as you create beautiful, intricate designs that truly reflect your unique style and passion.
ZDigitizing: Ultimate Destination for Premium Embroidery Digitizing Services
Need awesome embroidery digitizing services?
ZDigitizing is here for you! We offer top-notch embroidery digitizing and vector art services that fit both your embroidery and printing needs.
And here’s a cool deal – we’re giving you 50% off your first order!
Getting started is super easy. Just chat with us and we’ll give you a free quote in just 5 minutes. We like to keep things simple and fast for you.
Found this article helpful?
Share it with friends and spread the word about our incredible services and discounts. It’s a chance for everyone to experience top-notch digitizing services.
Thanks for reading, and we can’t wait to help you with your embroidery projects!
Frequently Asked Questions:
It’s moderately challenging to learn to use an embroidery machine, as it requires understanding both the machinery and embroidery techniques. However, with practice and guidance, it becomes manageable.
To start embroidery, beginners should first learn basic stitches, understand fabric and thread types, and practice simple designs before moving to more complex patterns.
Yes, you can learn embroidery at home using online tutorials, books, and practice kits, which offer step-by-step guidance and exercises for beginners.
To use an embroidery machine, you need embroidery threads, suitable fabrics, stabilizers (to keep the fabric in place), needles, and embroidery designs or patterns.

